Slides Basics
Get to know the basic functionalities of snappify Slides.
snappify Slides allows you to create rich presentations, smoothly animated videos or other technical content like documentations or tutorials.
Let’s learn more about the basic functionalities to get you started.
Bottom Slides preview
On the bottom of the Editor you can find a preview of all the Slides in your current Snap.
You can collapse it by clicking on the arrow on the top side. The current Slide is highlighted with a blue border.
Once you click on a Slide, the Editor content will instantly change to the selected Slide. Then you can navigate through the Slides with the arrow keys or you can just scroll with your mouse wheel.

Adding a new Slide
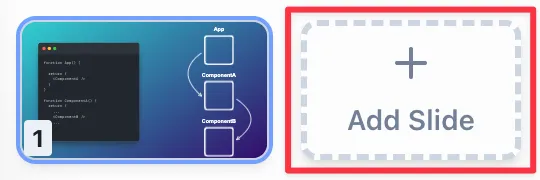
You can add a new Slide by clicking on the + Add Slide button on the bottom of the Slides preview.
Deleting a Slide
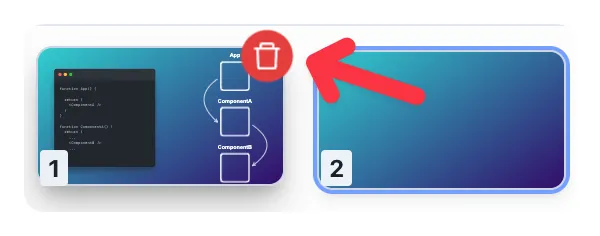
In case you have multiple Slides and hover one, you will see a trash-can icon button on the top right side of the Slide. Clicking on it will delete the Slide. There always has to be at least one Slide in a Snap.
Copy & paste a Slide
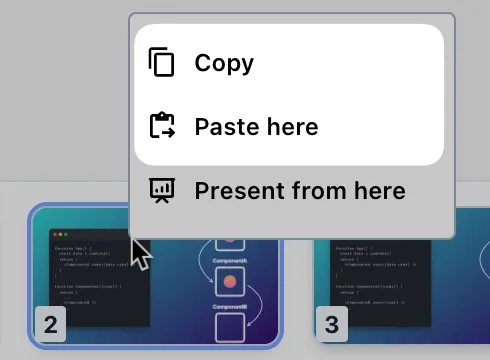
If you want to copy a Slide you can open the context menu by right-clicking on the Slide. Then you can select the Copy option. This will copy the Slide to your clipboard. Or just select the Slide and press Ctrl + C.
Via the Paste here option you can paste the copied Slide right next to the Slide. Or just press Ctrl + V to paste the Slide.
Duplicating an existing Slide
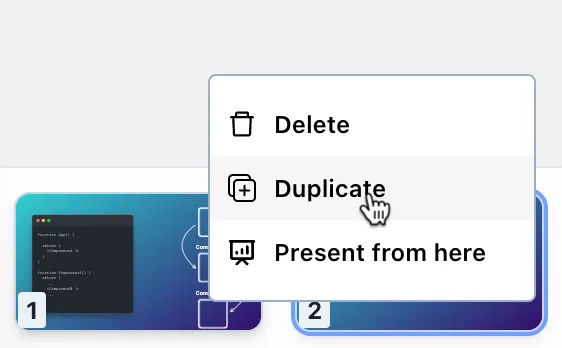
If you want to duplicate a Slide you can open the context menu by right-clicking on the Slide. Then you can select the Duplicate option. This will create a new Slide with the same content right next to the original Slide.
This will also link all the elements on the duplicated Slide to the original ones in order to smoothly animate state changes.
Duplicating a Slide to the end
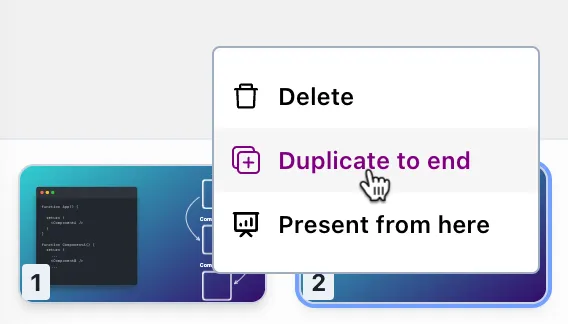
There is also a Duplicate to end option in the context menu. The option appears when you press Ctrl while the context-menu is open. This will duplicate the Slide and move it to the end of the Slides list.
Present your Slides
In order to present your Slides you can click on the Present button on the top of the Editor page. This will open your Slides in fullscreen mode.
You can navigate through the Slides with the arrow keys. Pressing ESC will exit the fullscreen mode.

Present from a specific Slide
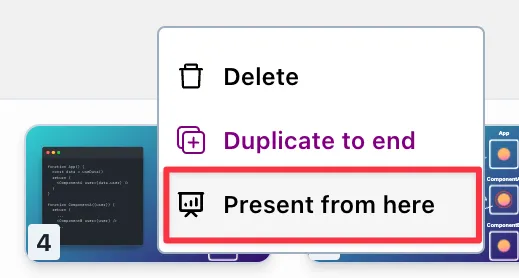
If you want to start presenting from a specific Slide, you can open the context menu by right-clicking on that Slide. Then you can select the Present from here option. This will open your Slides in fullscreen mode and start from the selected Slide.
Export
snappify lets you export your Slides in different formats.
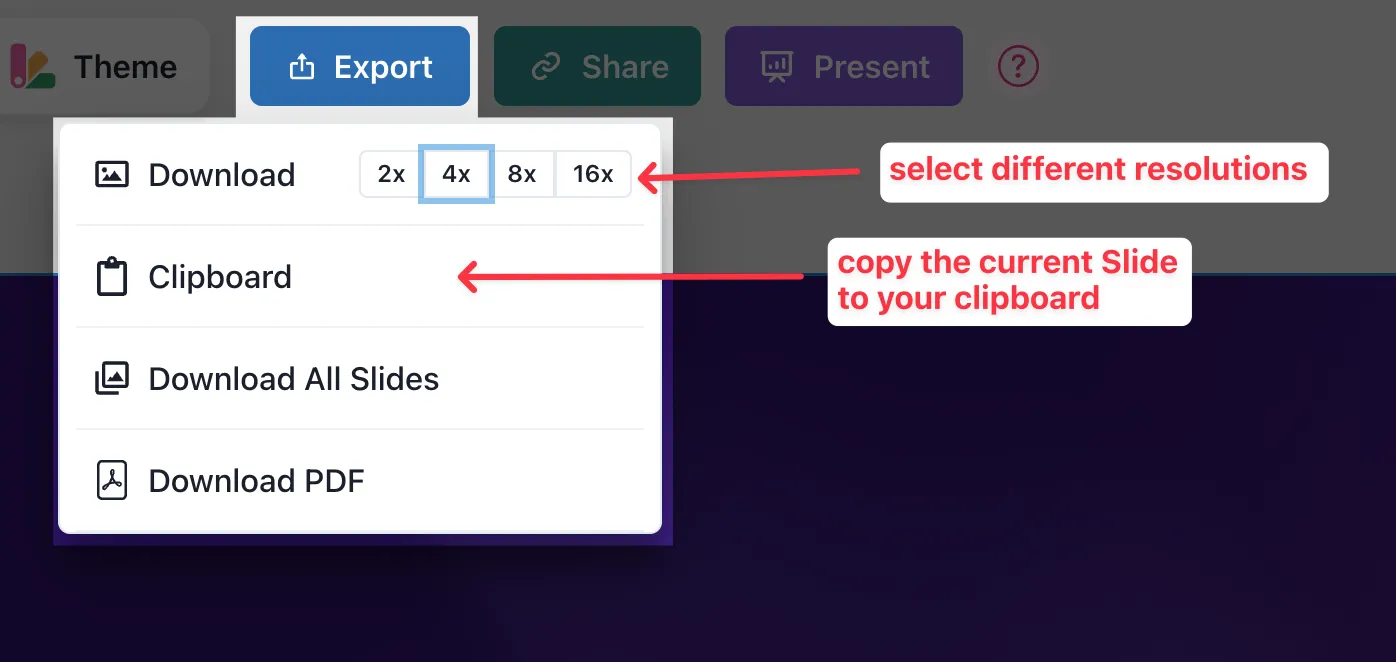
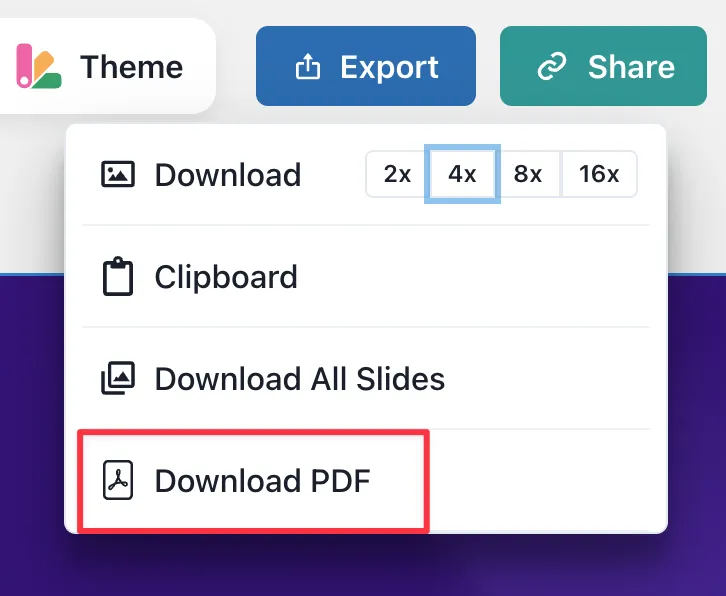
If you only want to export a single Slide as an Image, you can just click on the Export button on the top of the Editor page while you’re on the desired Slide. You can also hover the Export button to select different resolution options or copy the Slide directly to your clipboard.
Export your Slides as ZIP
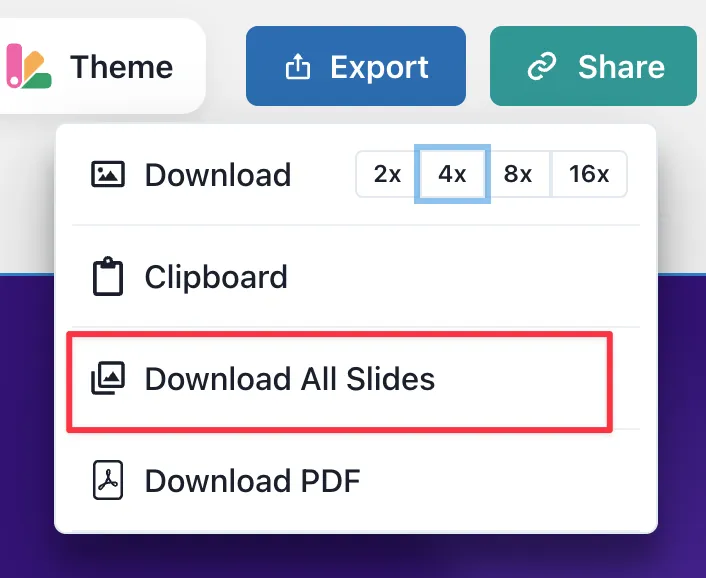
If you want to download all your Slides at once, you can hover over the Export button and click on the Download All Slides option.
This will download a ZIP file with all your Slides as Images.
Export your Slides as PDF
You’re also able to download you Slides as a single PDF file. This can be helpful if you want to print your Slides, present them offline or share them as a LinkedIn carousel.
Just hover over the Export button and click on the Download PDF option.
Export your Slides as Video
At the moment we don’t support exporting your Slides as a Video. We’re working hard on it and hope to release a first version soon.
Until then when can just encourage you to record your screen while presenting your Slides in snappify. It already works pretty well to create videos of your Slides in snappify this way.
Next Steps
Now that you’re familiar with the basics of snappify Slides, here are some recommended next steps:
- Explore the Editor basics to learn how to create your first slide.
- Check out our Animation guide to understand how to bring your slides to life.
- Try creating a simple presentation using one of our templates.
- Join our Discord community to connect with other users and get inspiration for your projects.
Previous Article
Next Article