Editor Basics
Get to know the basic functionalities of the snappify Editor
At the heart of the Editor is a canvas where you can freely arrange your elements. Here we’ll discuss the basics and common functionalities across all elements.
Select Elements
There are multiple ways to select elements in the snappify Editor:
- via the Element Tree (select multiple elements by holding the Shift or Ctrl key)
- via Drag Select on the Canvas
- by clicking on Elements on the Canvas (select multiple elements by holding the Shift or Ctrl key)
Copy & Paste Elements
Of course, it’s also possible to copy and paste elements. You can copy elements by selecting them and then pressing Ctrl + C. Afterward, you can paste them by pressing Ctrl + V. By default, the elements will be pasted into the top of the Element Tree. If you have one or more groups selected, the elements will be pasted into all selected groups.
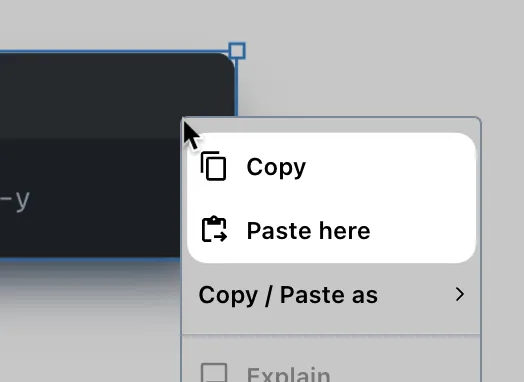
You can also use the context menu by right-clicking on the canvas or the Element Tree in order to copy or paste elements. By clicking on Paste here the elements will be pasted to cursor position.
Pro Tip 💡
Elements can even be copied and pasted between different snaps! So when you for example have a design element that you want to use in multiple snaps, you can copy it from one snap and paste it into another one.
Additionally to Copy & Paste there’s also a “Duplicate” option in the context menu. This will create a copy of the selected element and paste it right after the original element.
When you copy an element from one Slide onto another, they will be linked to each other for smoothly animating state changes when navigating between the Slides.
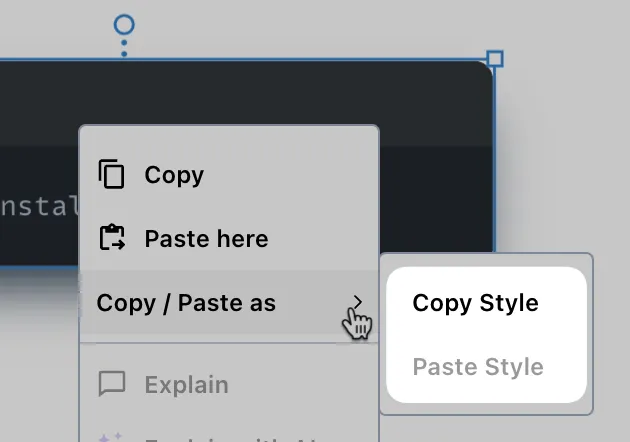
Copy & Paste Element Styles
Another very useful feature is the ability to copy and paste the styles of an element. So you can apply the same style to multiple elements.
Edit Multiple Elements at once
When you have an element selected, you’ll see all the properties that can be edited on the right toolbar.
It’s also possible to edit multiple elements at once. Simply select the desired elements like described above and you’ll be able to edit all the properties that those elements have in common.
Video showcasing how to edit multiple elements at once
Positioning
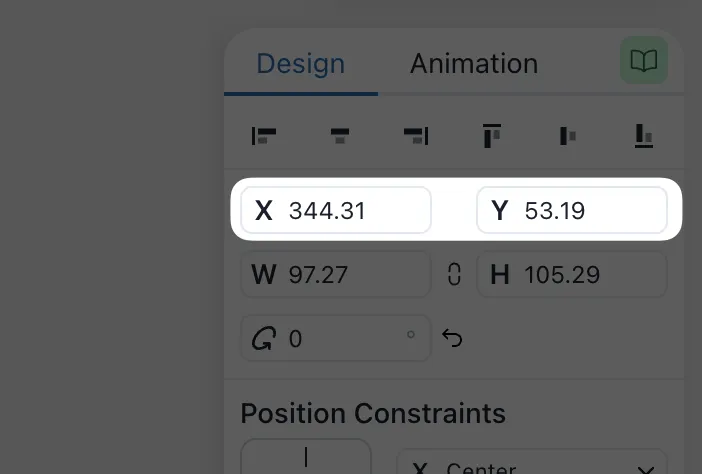
Elements can be placed anywhere on the canvas using drag-and-drop.
To be more precise, use the input fields for the X and Y coordinates on the right toolbar.
Position Constraints
Elements are usually constrained to the Top-Left, which means they stay in the same place when you resize the background. Position Constraints can be specified for any element, except Group Elements (because they are made up of multiple elements which have their own Position Constraints).
You can change the position constraints of an element to keep it in a certain position while resizing.

Below we describe the different position constraints which can be specified for the X and Y axis individually.
Bottom Right
The Element sticks to the bottom right corner, keeping the same distance from the bottom and right side.
Video showcasing the Bottom-Right Position Constraint
Center
The element stays proportionally positioned in relation to the background as it is being resized. That means when an element is centered, it will stay centered while resizing.
Video showcasing the Center Position Constraint
Scale
The Element keeps its size relative to the background. This can be very useful for placing background images and keeping them cover the whole canvas.
Video showcasing the Scale Position Constraint
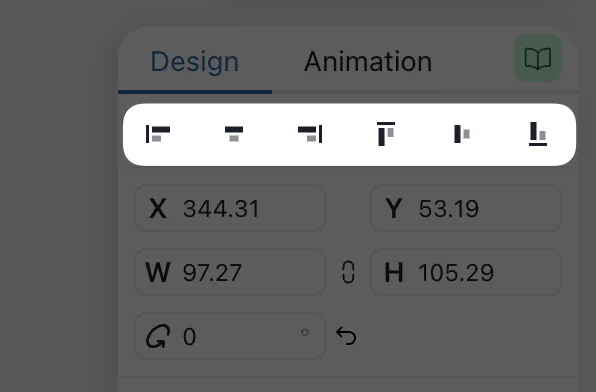
Alignment
The right toolbar also contains alignment buttons that can quickly position elements in specific locations. These buttons allow you to align elements to the start, end, or center horizontally or vertically.
When multiple elements are selected, the alignment buttons can align them horizontally or vertically to each other.
Size
Elements in the snappify Editor can have different sizing behaviors. Some elements can be resized, while others are sized automatically to fit their content.
To resize an element, simply drag the resizing handle directly on the canvas.
For more precise sizing, you can adjust the width and height values using the input fields located on the right toolbar.
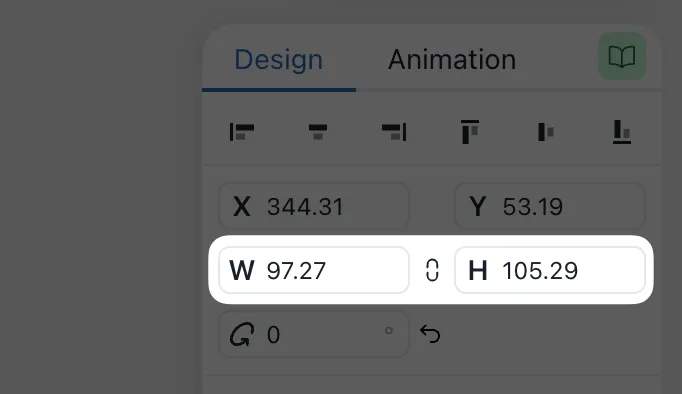
Keep aspect ratio
As you can see in the screenshot above, there’s a button between the width and height input fields. This button allows you to maintain the aspect ratio of the element when resizing.
Image elements have this button enabled by default, to keep the original aspect ratio of the image.
Scale
On some elements (e.g. the code editor), the size can’t be adjusted, but you’re still able to “resize” them by adjusting their scale.
Video showing how to scale elements
Rotate
Some elements also allow you to rotate them, either via the rotation handle on the canvas or via the corresponding input field on the right toolbar.
Video showing how to rotate elements
Advanced Styles
There are various styling options that can be applied to elements. These options are available in the “Advanced Styles” accordion on the right toolbar.
Have a look at the video below to see what styling options are available 👇
Video showcasing the Advanced Style options
Element Tree
Now let’s move on to the next page, where we learn more about the Element Tree which gives you the possibilities like grouping, lock & hide or duplicating elements.
Previous Article
Next Article