Changelog - Page 3

See the latest product updates for snappify.

↦ Tab Size

The tab size (indentation) of the code editor can now be adjusted from 2 to up to 6 spaces.


👉 Arrow Improvements

You’re now able to attach arrows to elements! 🥳

That means you don’t have to reposition an arrow when you move around the element to which it is pointing at. It will automatically adjust its position.

Learn more about it in our new Arrow documentation.

Video showing the new arrow attachment feature

New way of drawing arrows and form elements

Additionally, we’ve refined the way of adding new arrows or form elements to your snap.

When clicking on the form element button on the top of the editor and choosing the desired element, you can now immediately start drawing on the canvas. This makes it easier to place the element right where you want it.

Video showing how to draw arrows and form elements


Wanna stay up-to-date?

Sign up for our newsletter and we'll keep you updated with news about snappify


🎨 Color Picker Improvements

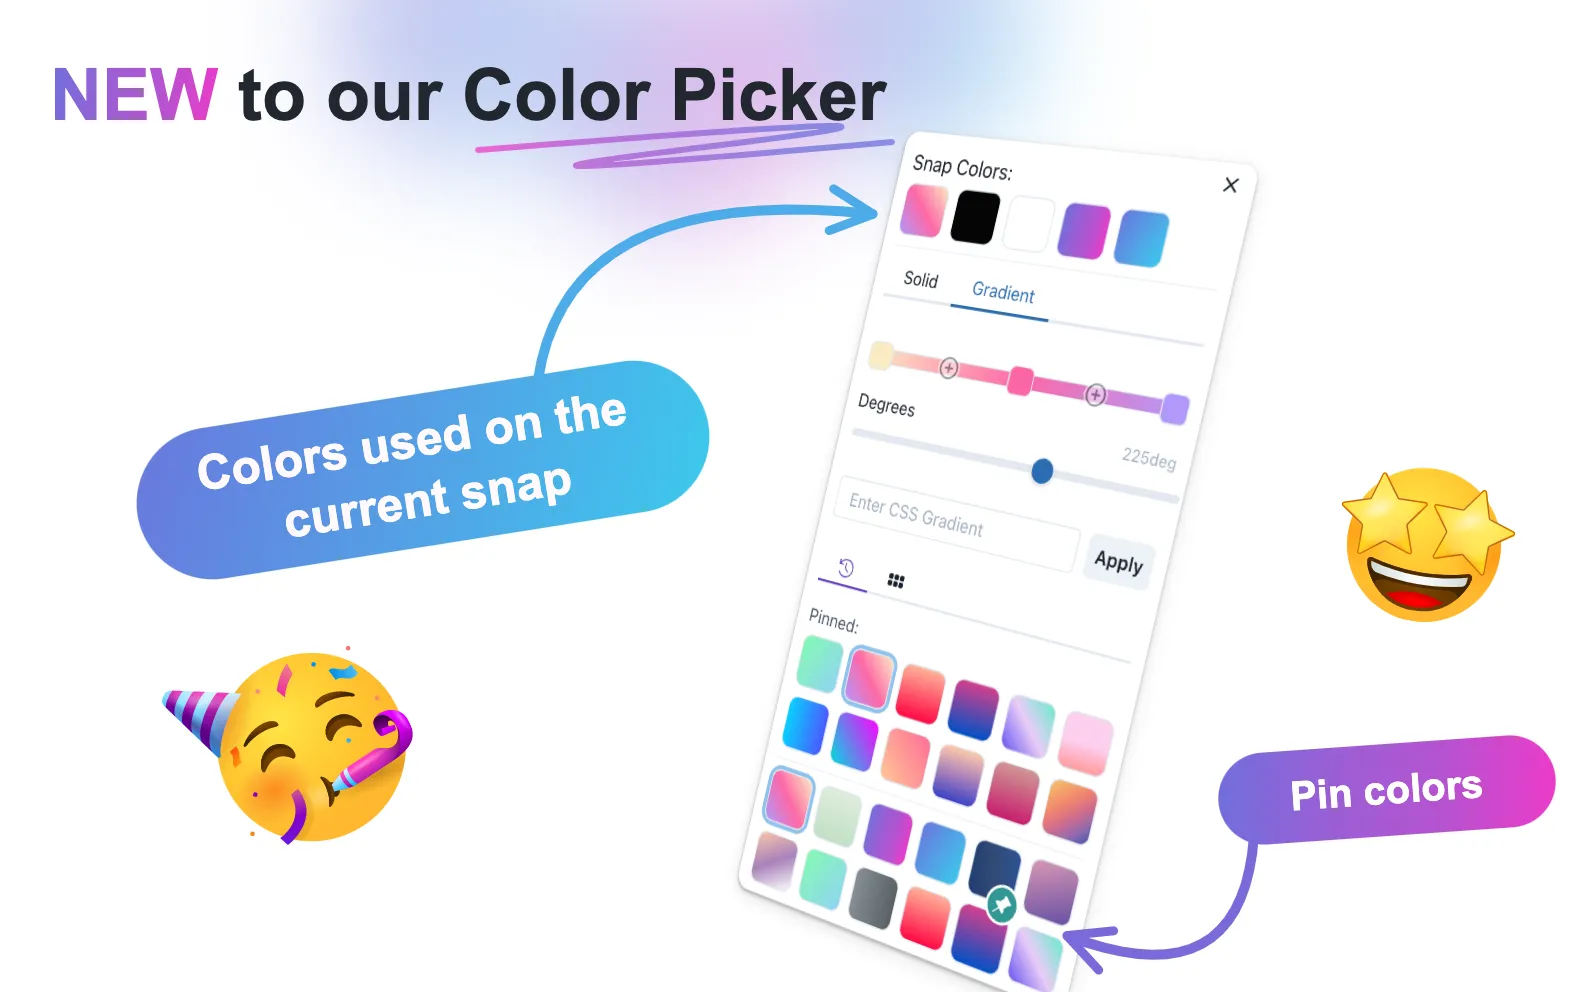
From now on, you will see all the colors you have used in the current snap at the top of each color picker. This gives you easy access to all relevant colors.

In addition, we have separated the recently used colors from the preset color palette to make both easier accessible. You can also pin the recently used colors to create your own preferred color palette

Promotion Image showing the color picker improvements

🎛 New Advanced Style Properties

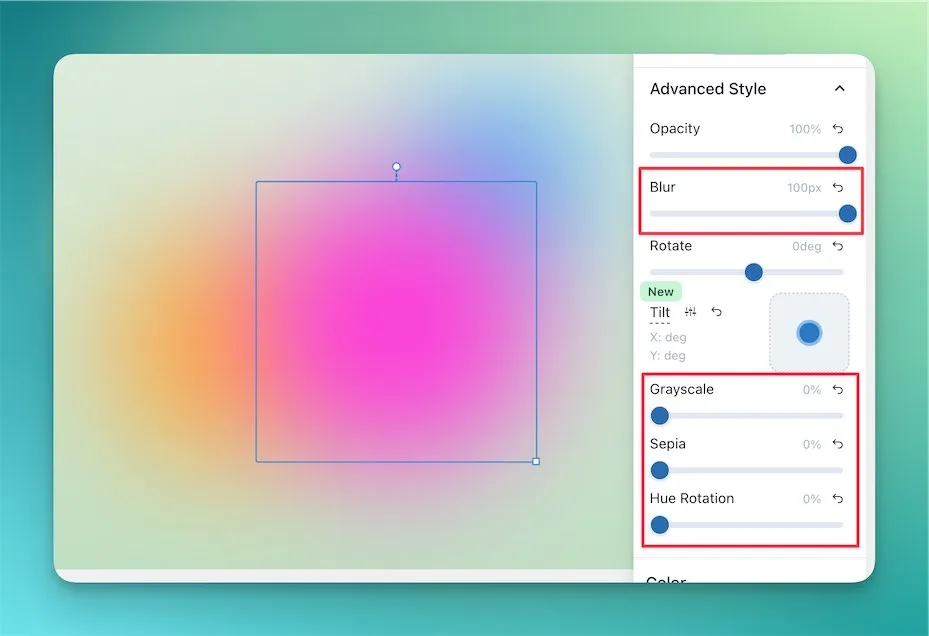
We’ve introduced some new advanced style properties! 🥳 You’re now able to specify Blur, Grayscale, Sepia and Hue Rotation on every element!

Hint: this is also able on Group elements, so it’s easy to apply those effects on multiple elements at once.

Showcase of the new advanced style properties

🖼️ Static Images

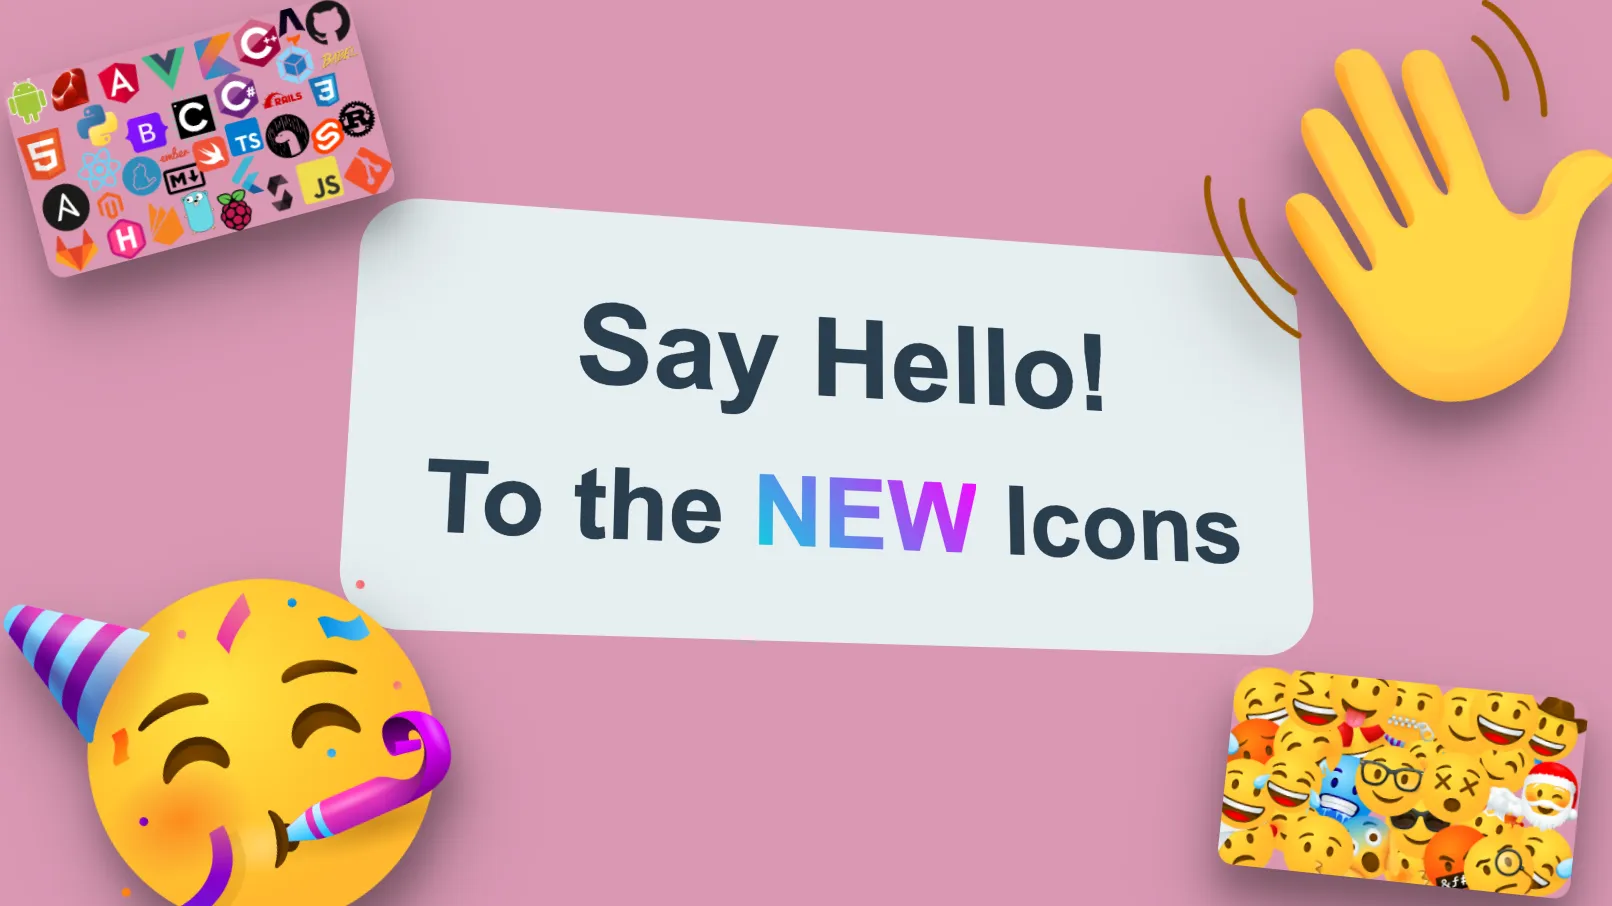
We’ve improved our image component! Now, you can easily add handpicked dev-icons, emojis, and other icons. Plus, you can easily replace an image while keeping the configured settings on the right toolbar. In the element tree, you’ll also see a small preview image for easier orientation.

For more information visit the docs.

Promotion Image showcasing the new static images

snappify.com

snappify.com Domain
snappify.com Domain

Today we migrated our Domain from snappify.io to snappify.com 🥳

We’re really proud of this step as it makes our brand more serious.

All possible redirects are in place, so everything should still work as expected. Nevertheless, if you still expect any issues, please don’t hesitate to reach out!


🏘 Element Grouping

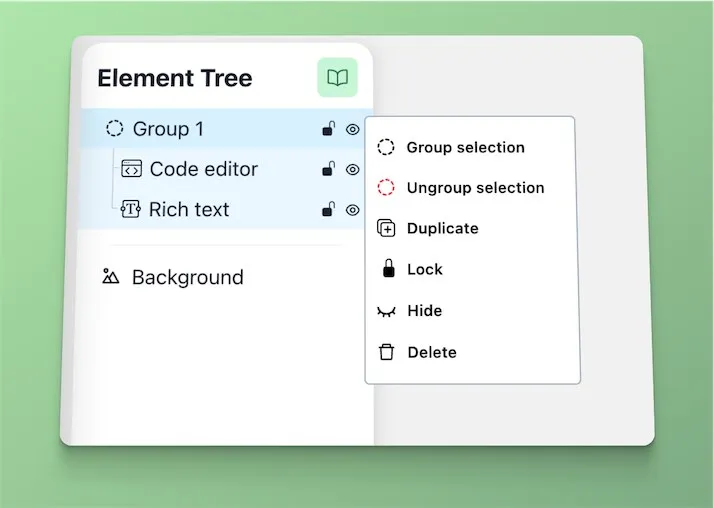
From now on it’s possible to group elements in the tree! 🥳

Grouped elements act like a single element on the canvas. You can move them around and they’ll stick together, which can be pretty handy when you want to group several design elements together.

Read more about grouping an other changes regarding the Element Tree on our docs.

Preview of a group in the element tree

💬 Rich Text Improvements

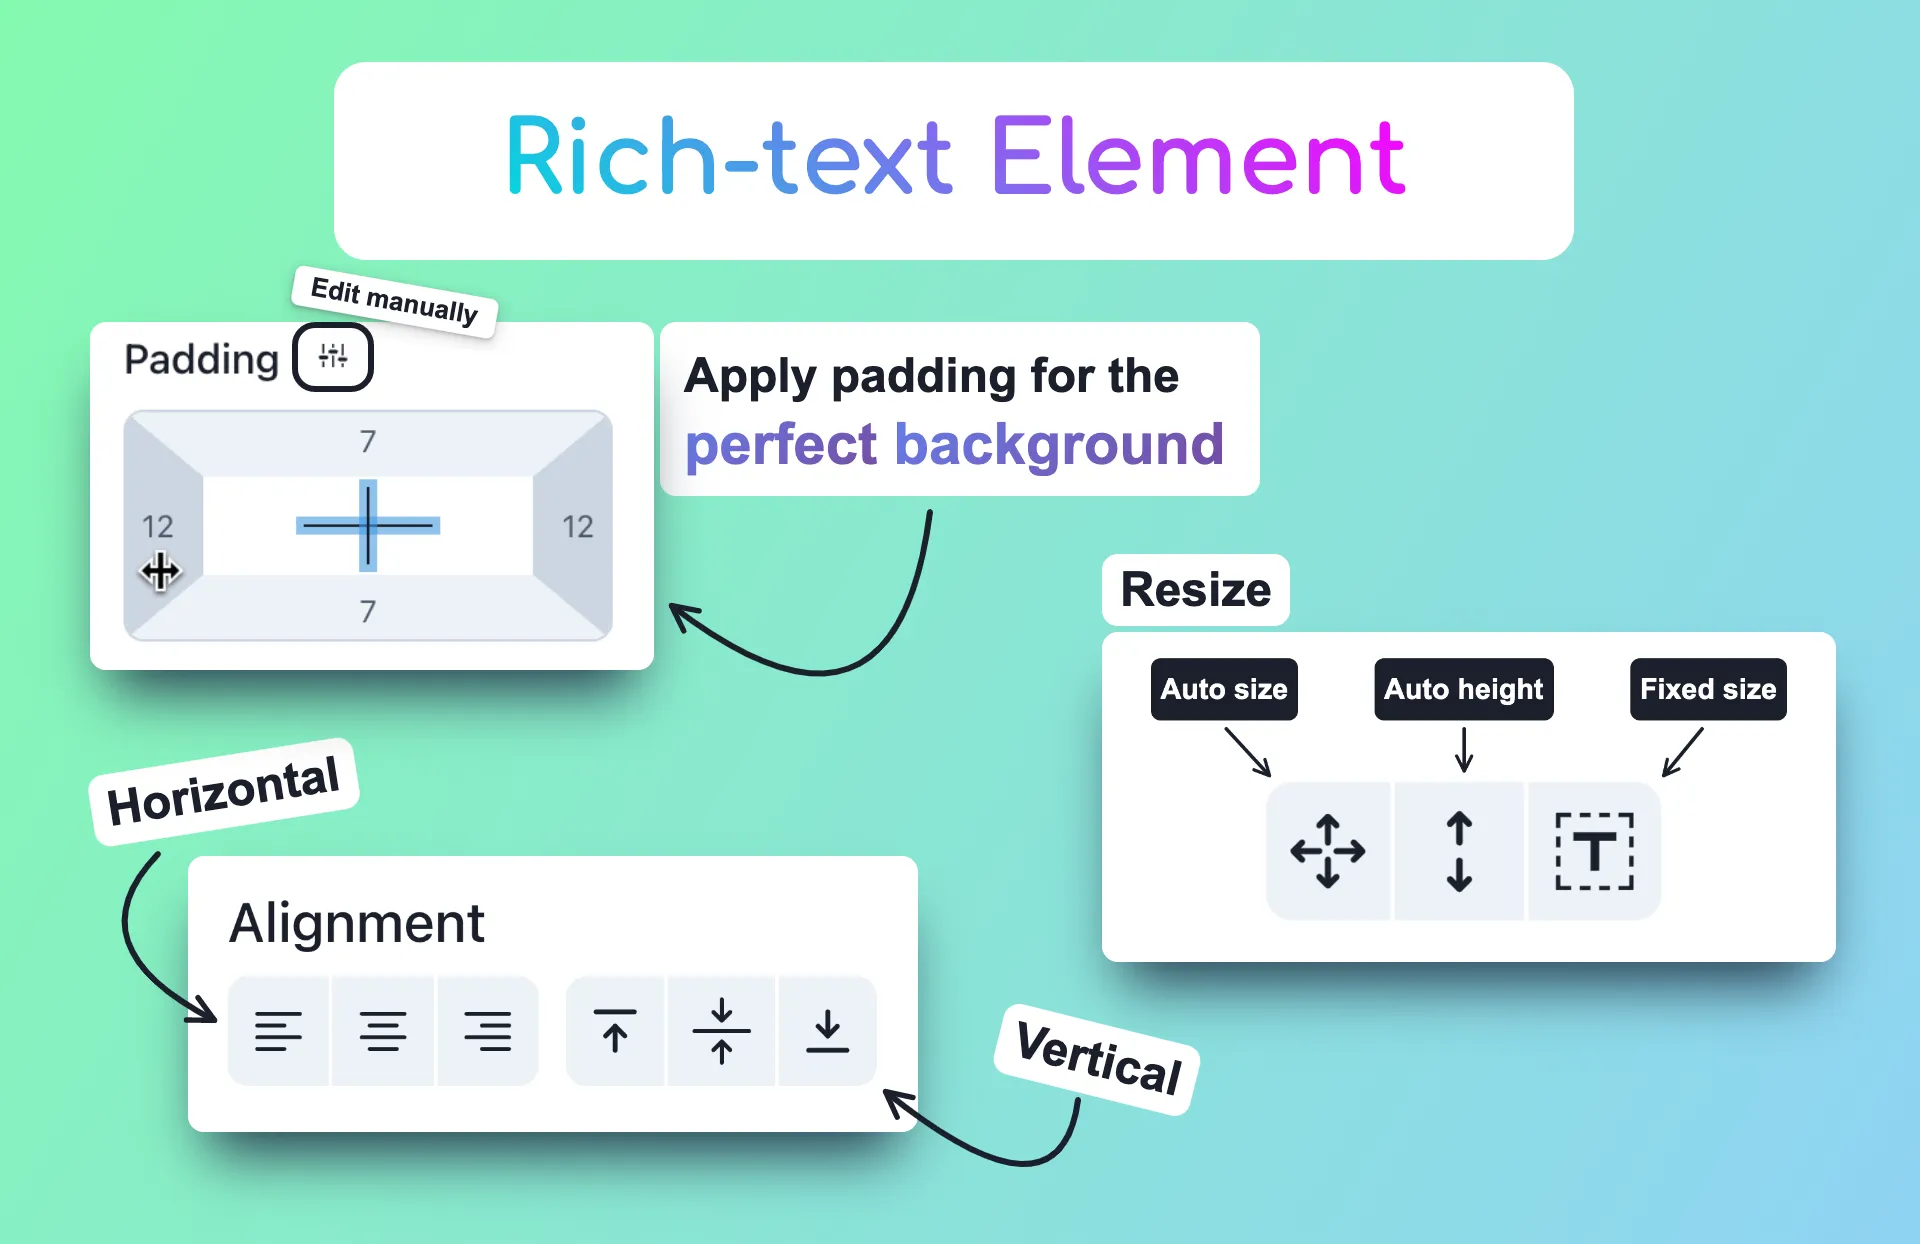
Our rich-text element just got even better! Let’s see what has been changed.

Padding: Now it is possible to adjust padding. This plays very nicely if your text element has a background.

Resize: Sometimes you want to resize a text element for your need. We got your back by providing 3 different resize modes 🙌

Vertical alignment: Since the size of the text element can be adjusted freely you can change vertical alignment.

Read more about the Text element on our docs.

Promotion Image showcasing the new Rich Text improvements

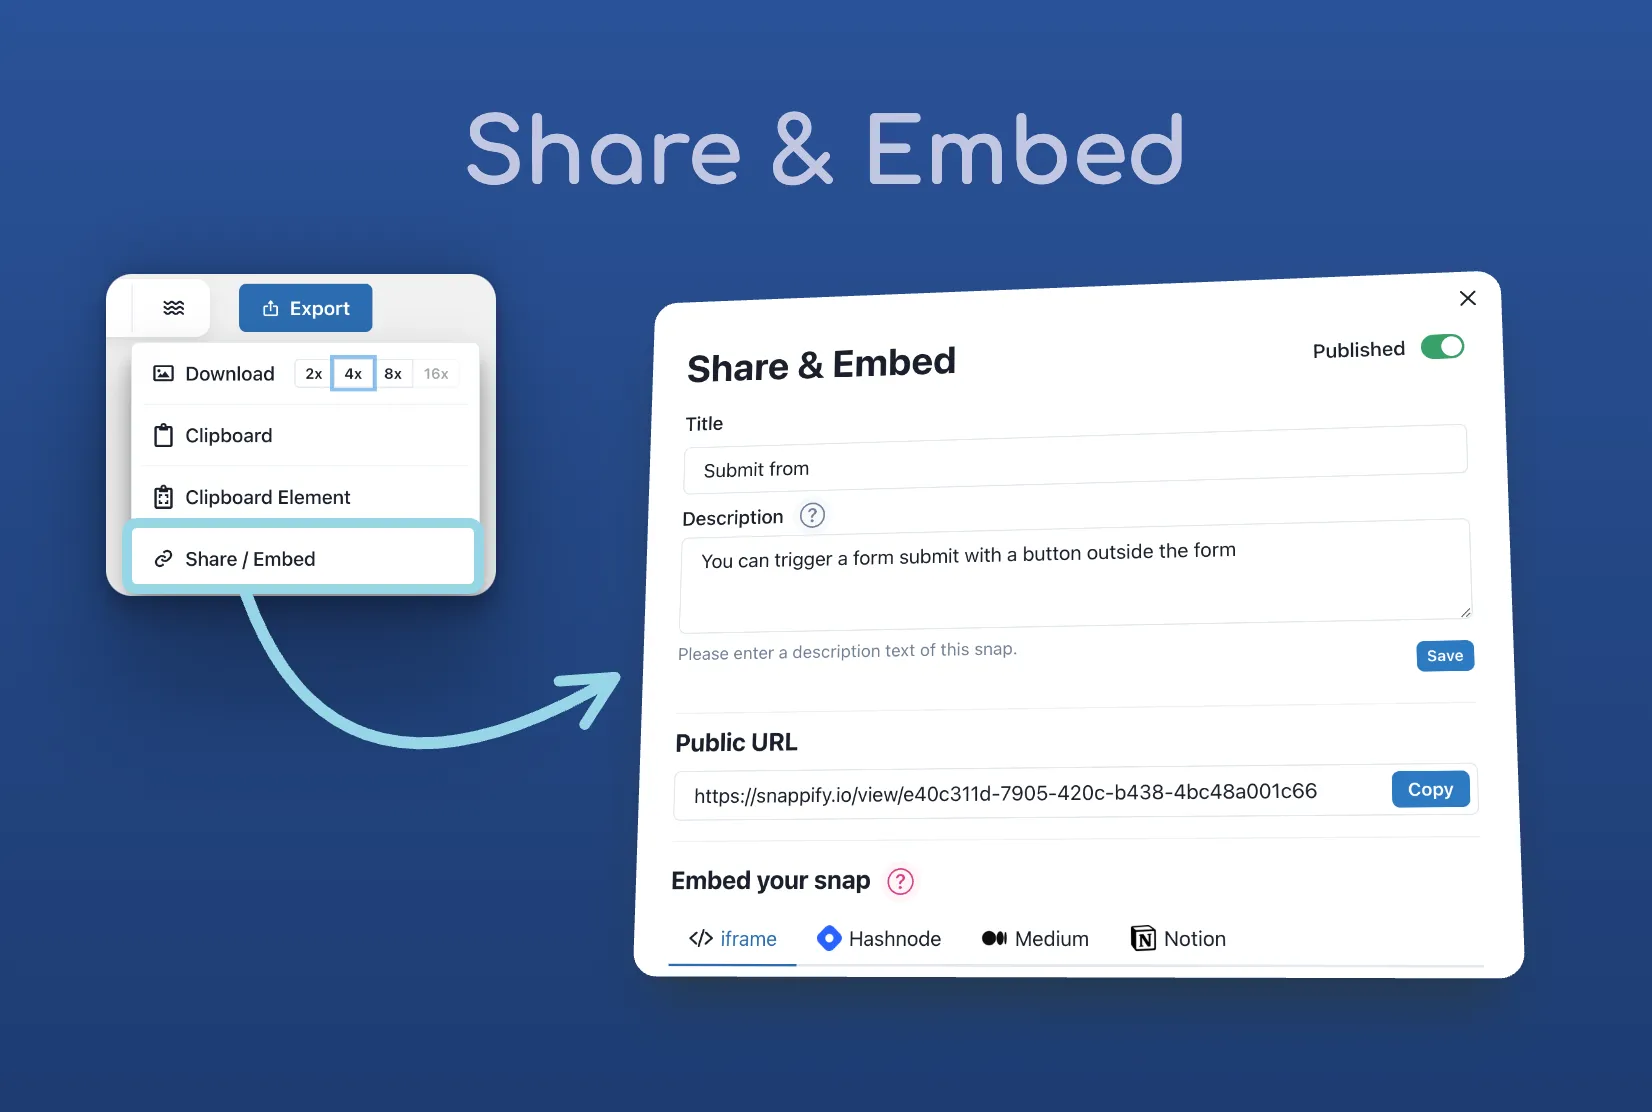
🌐 Share & Embed

Today we released a unified experience for Embedding & Sharing your snaps from a new modal. You’re now also able to describe your snap for better SEO.

Hint: Your old snaps are now public by default and accessible by everyone who has the URL. Newly created snaps will be unpublished by default and you have to actively publish them.

Additionally we also unlock this powerful feature for our free plan, so more people can get in touch with it. 🙌

Promotion Image showcasing the new Share & Embed modal

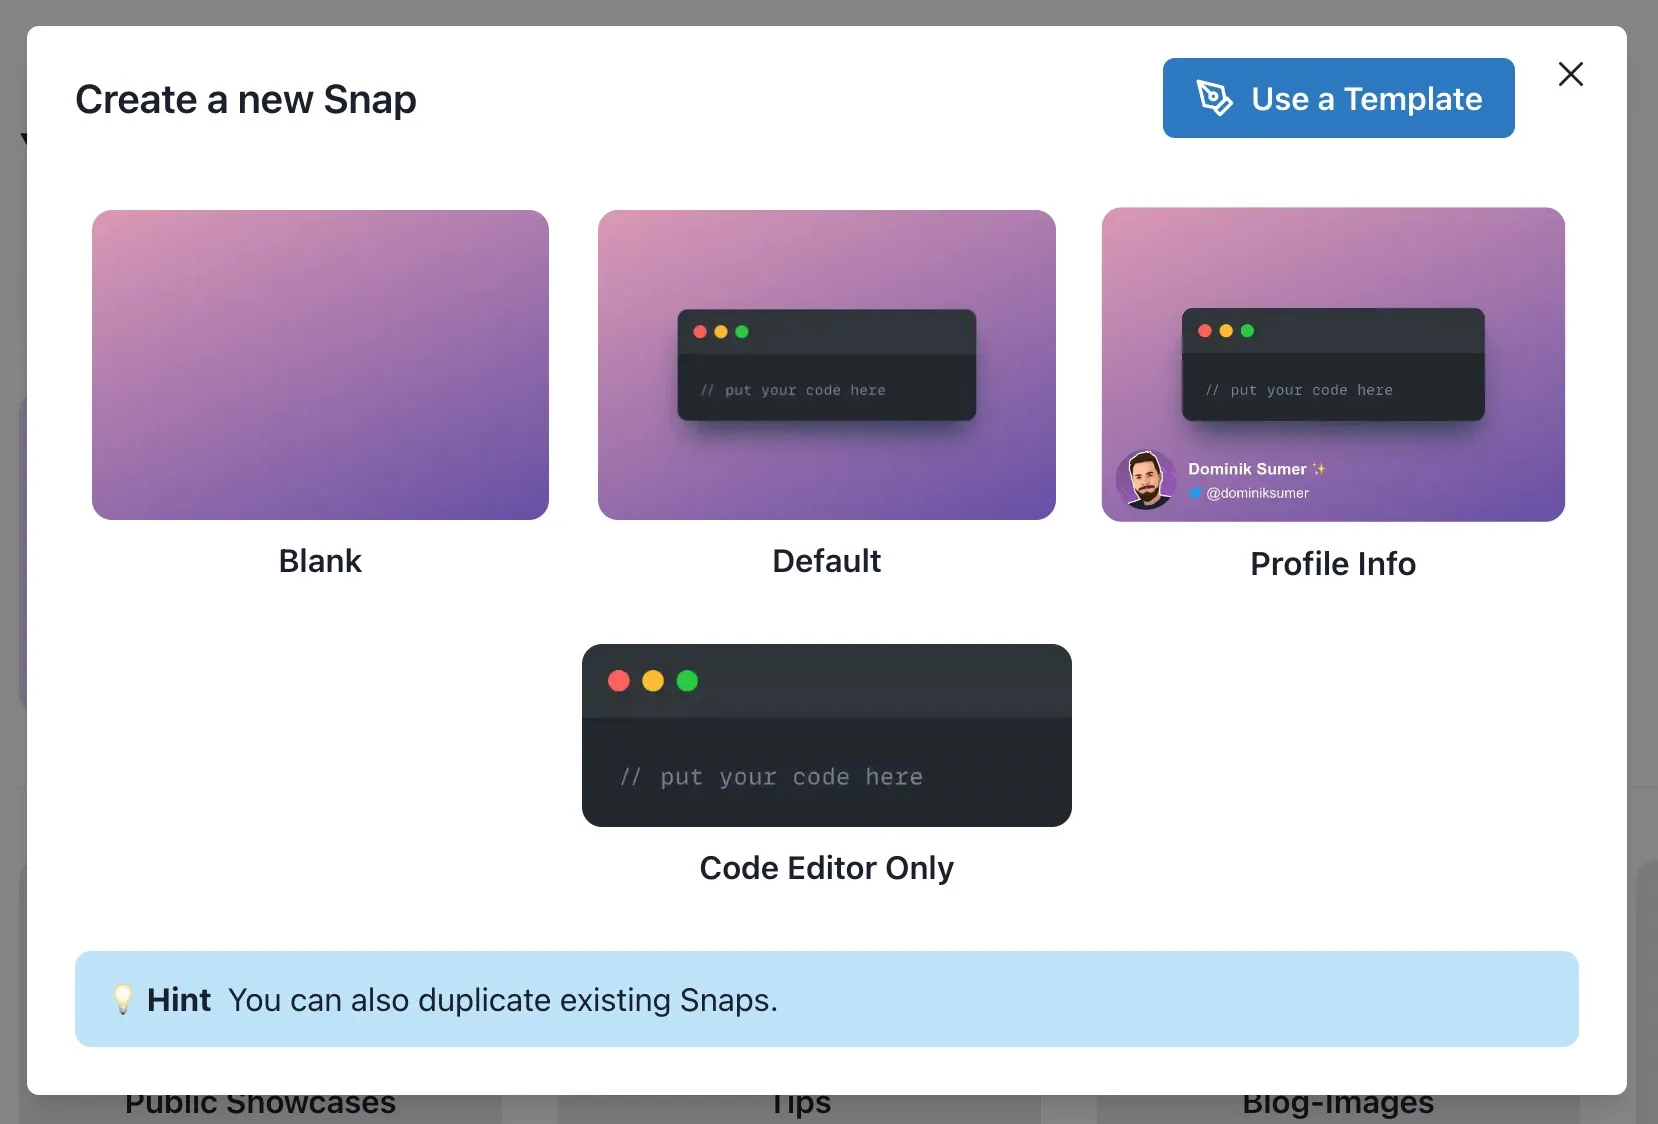
New Snap Modal

Screenshot of the new snap modal

When creating a new snap with snappify, you maybe need different starting points. Like either you want to start with a Blank canvas, or only a code editor.

That’s why we’ve introduced a new Modal for creating snaps, where you can choose the default snap to start with! It also includes a link to our new Template Gallery, if you want to get started with a more sophisticated Templates.

We’d love to hear your feedback about this. Do you maybe have default styles you’d like to be added to this modal or other additions you’d like to see?


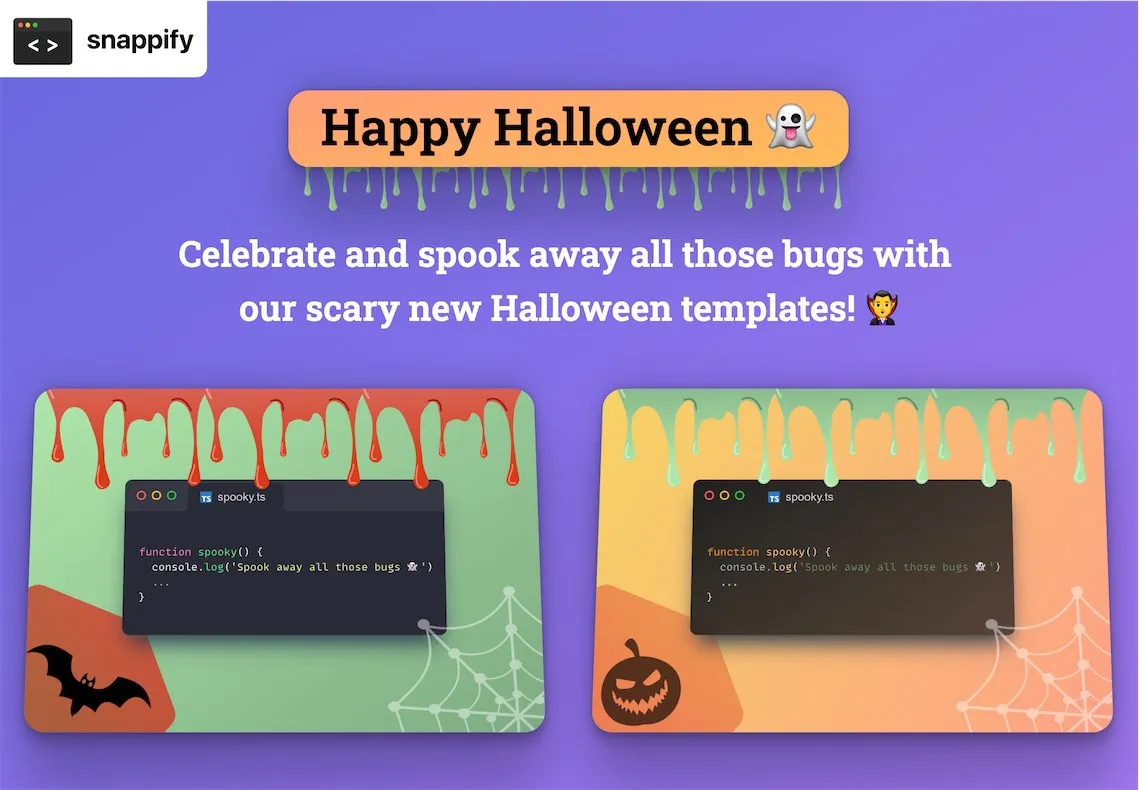
🎃 Happy Halloween!

Celebrate and spook away all those bugs using our scary new Halloween templates 👻🧛‍♂️🧟

Head over to the template 👈

Promotion Image showcasing the new Halloween Templates

🏛 Templates

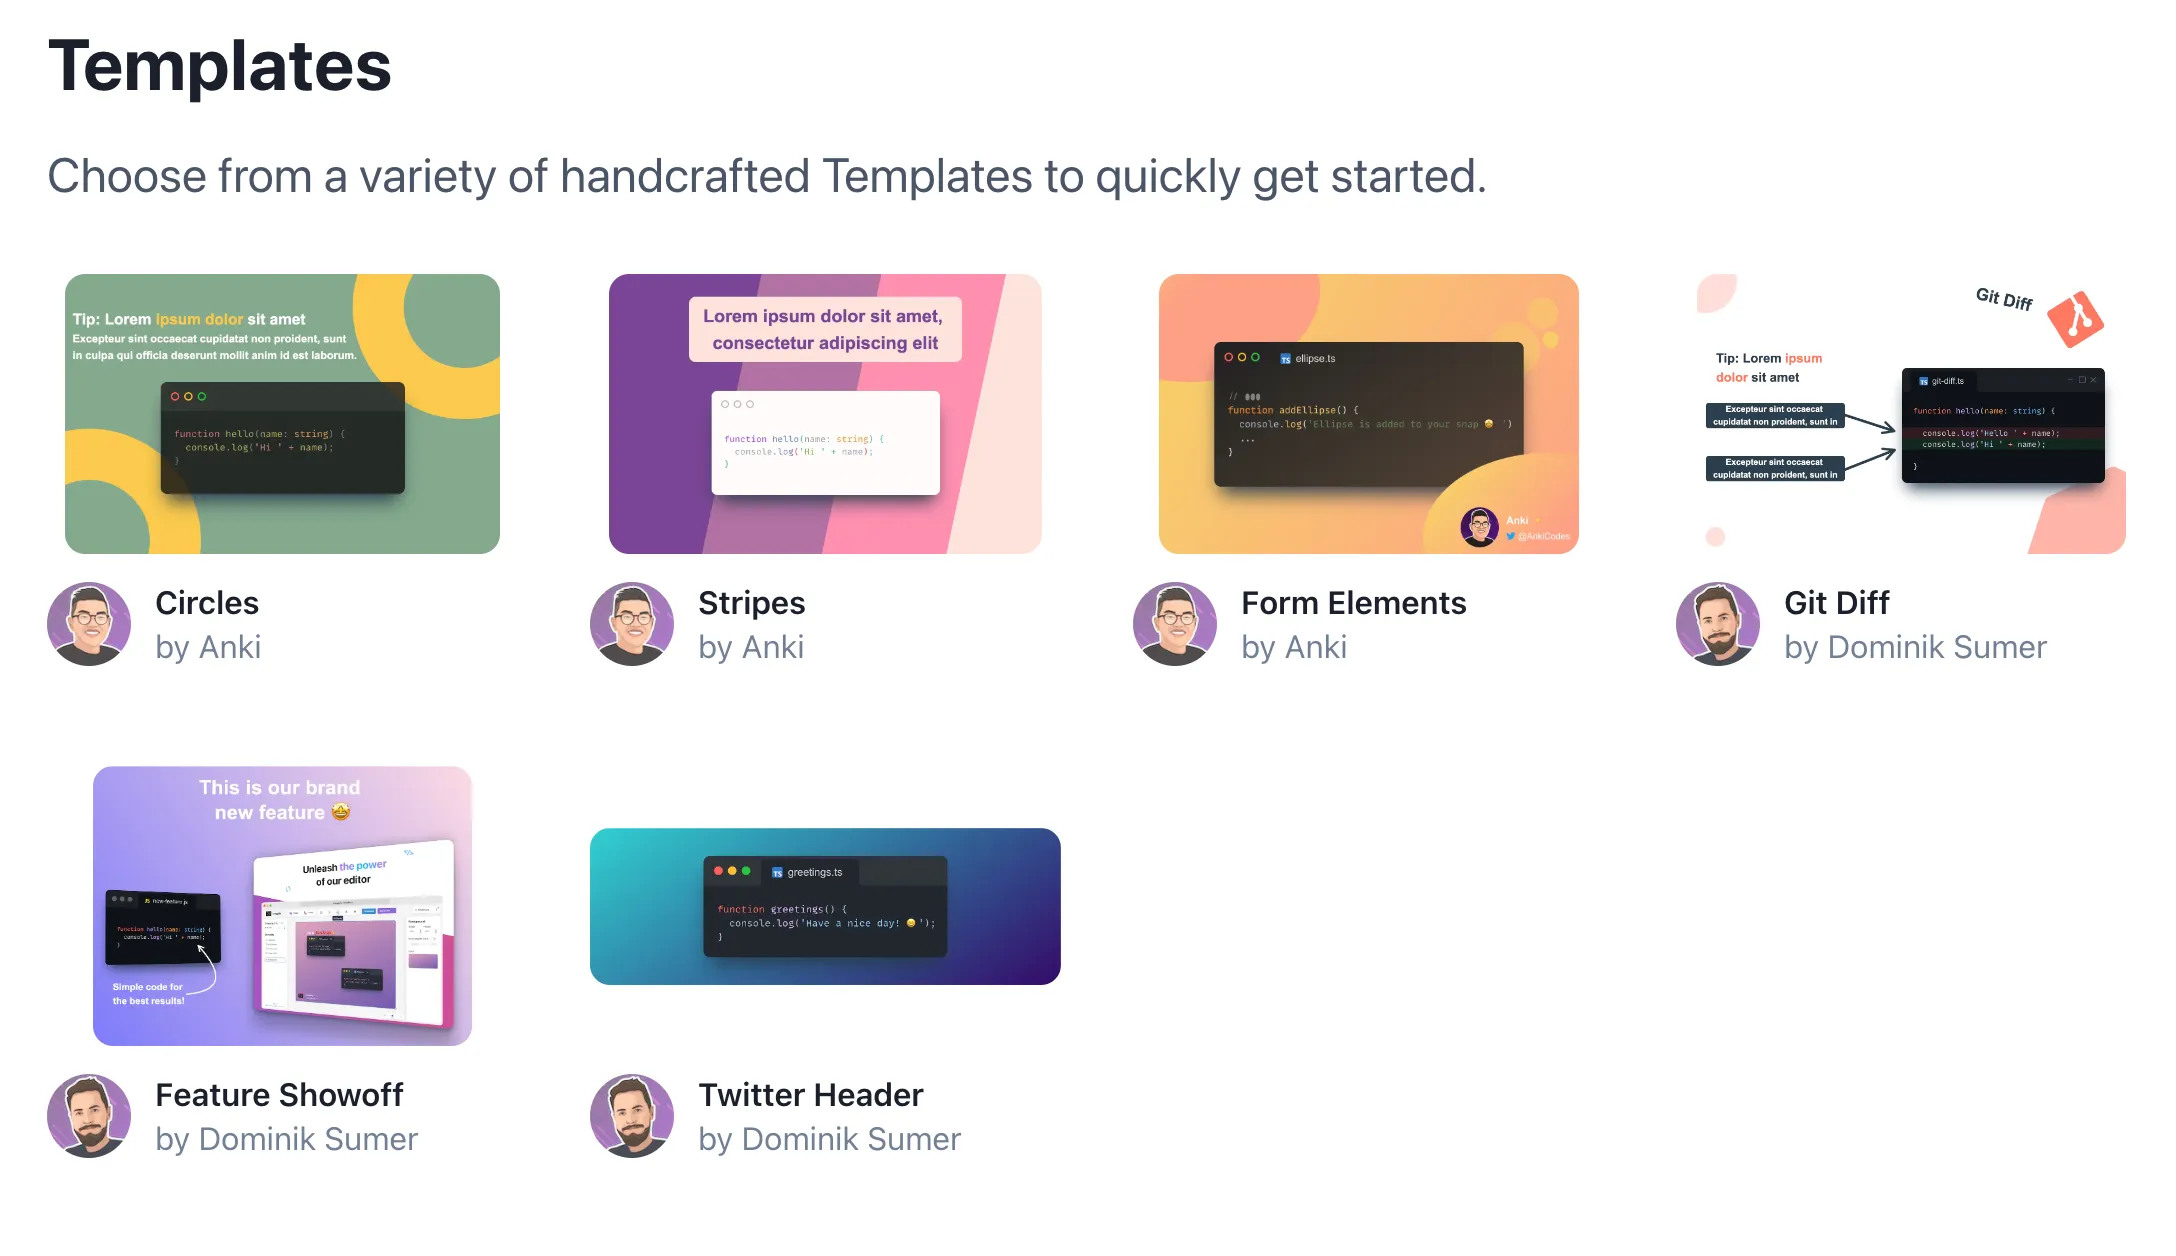
The snappify Template Gallery is live! Choose from various handcrafted Design Templates to quickly get started with your next snap. 🙌

We strive to manually extend the gallery and even have plans for opening it up to Community contributions in the future!

Head over to our templates 👈

Screenshot of the new Template Gallery

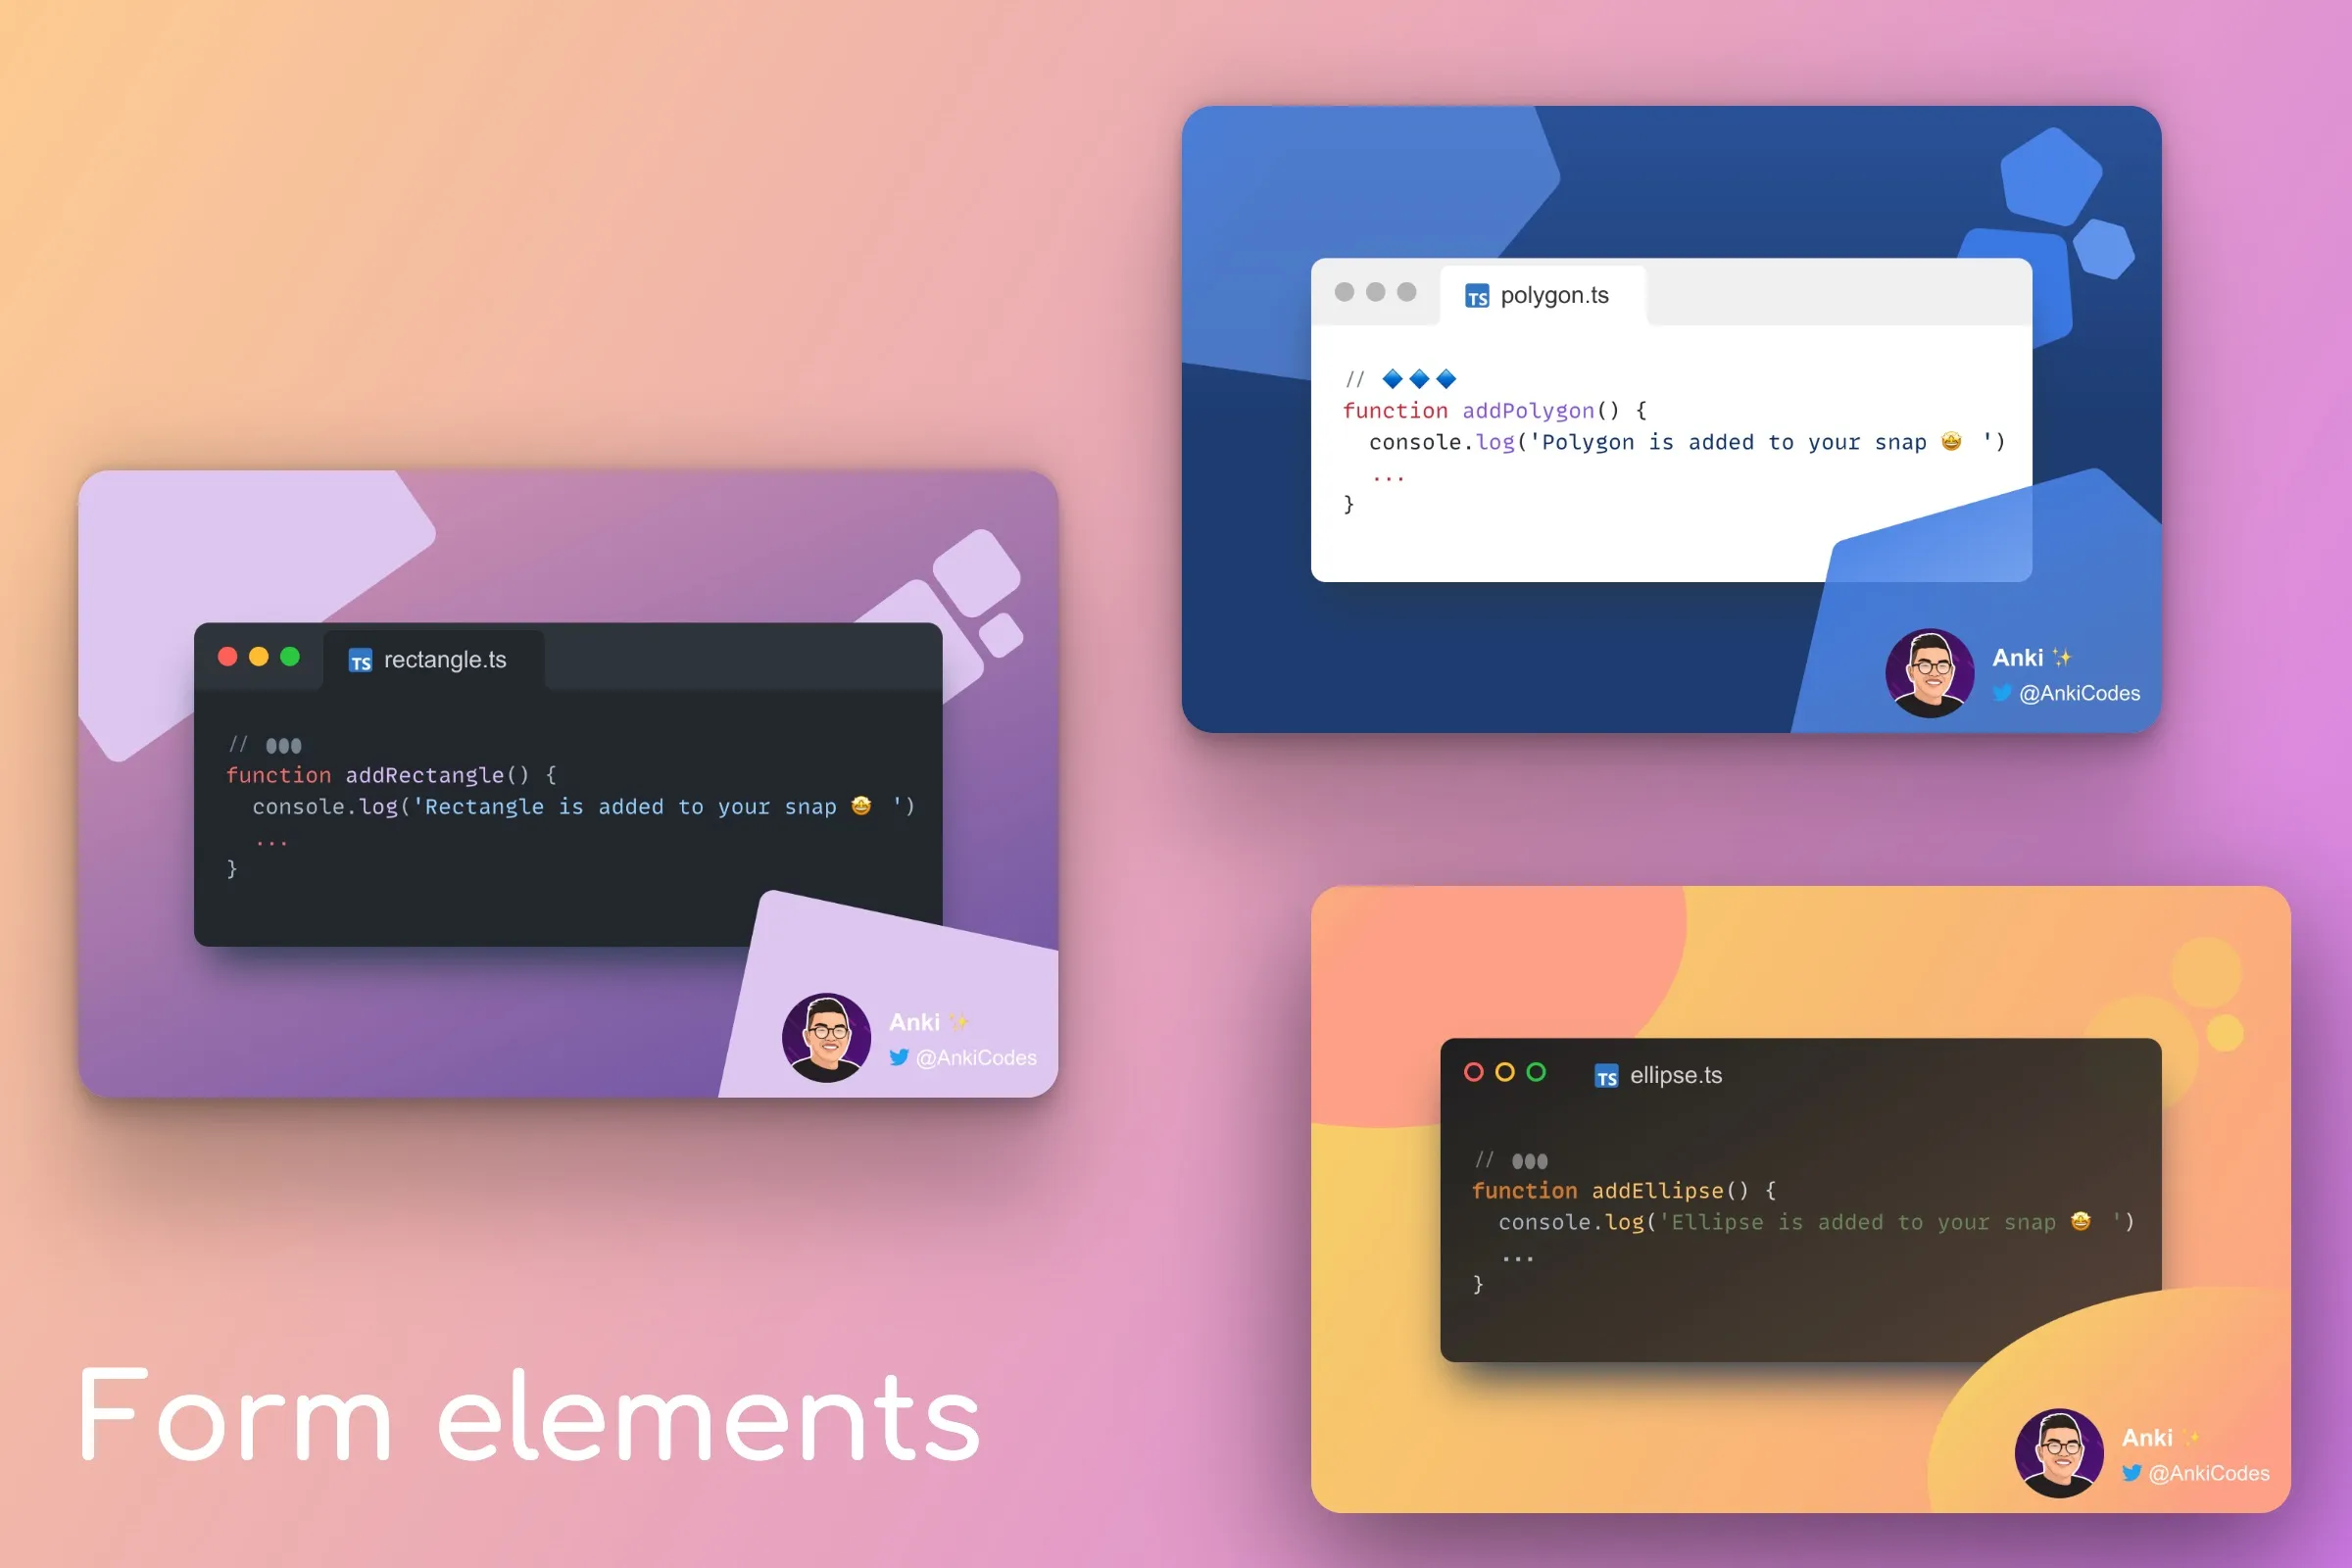
🔓🟠🟪🔷 Form Elements Tutorial

Our users on the free plan now have unlimited access to form elements. 🙌

On top of that, we also introduced our first tutorial where we explore how we can leverage those form elements. At the end of the tutorial, we have 3 templates (see the image) that you can copy to your dashboard and customize how you like. 😎

Check out the tutorial 👈

Promotion Image for the Form Elements Tutorial

🔍 IntelliJ Plugin

Promotion Image for the IntelliJ Plugin

The official IntelliJ Plugin for snappify is now available 🥳 You’re now able to create your snaps directly from your IntelliJ-based IDE.

Check out:


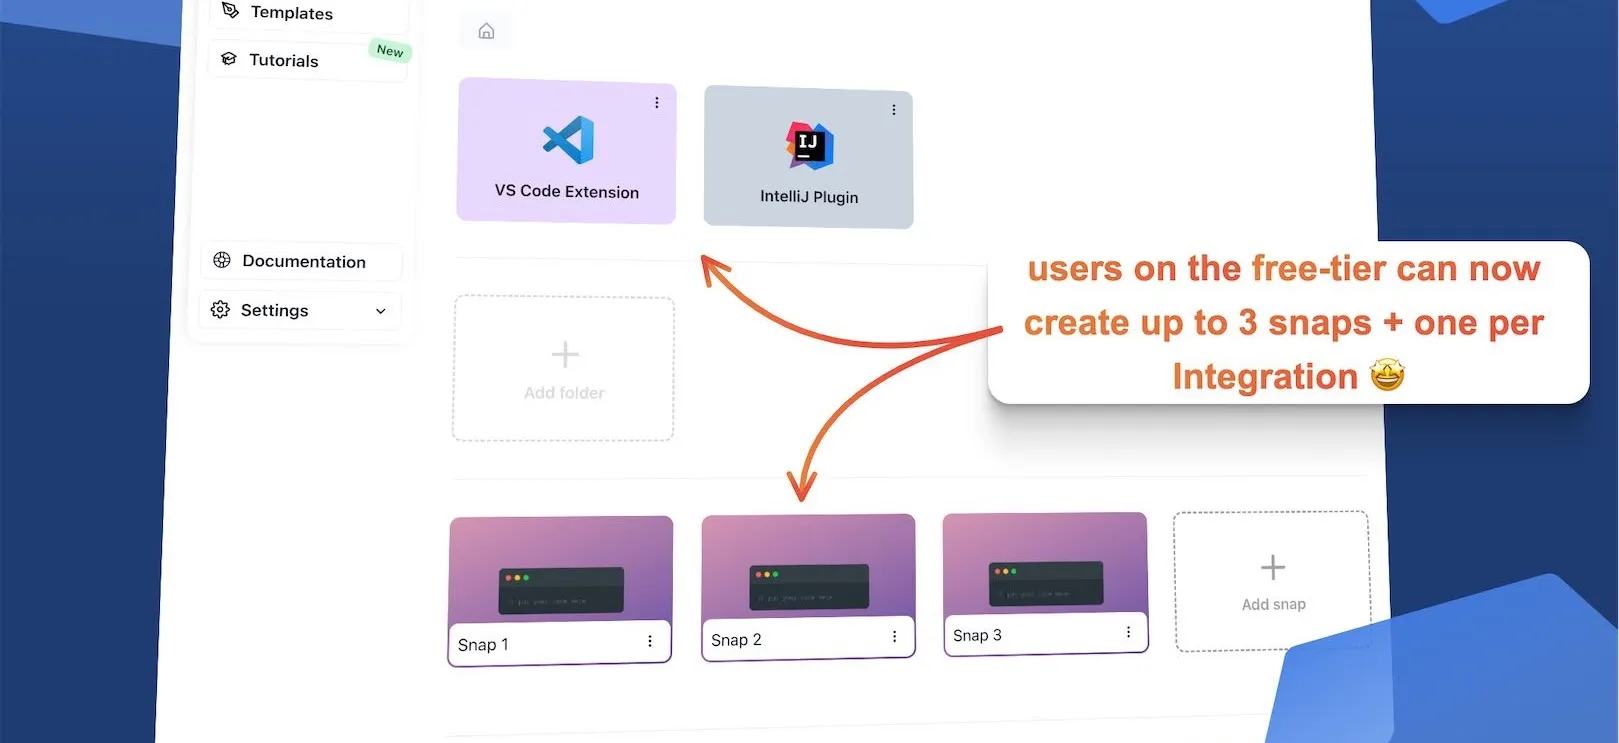
🦸 More free-tier options

Promotion Image showing the new free-tier options

From now on users on the free-tier are able to create up to 3 snaps (+ one per Integration) on the snappify Dashboard 🥳

We want to give our users more power so they see what they can achieve with snappify 💪🔥

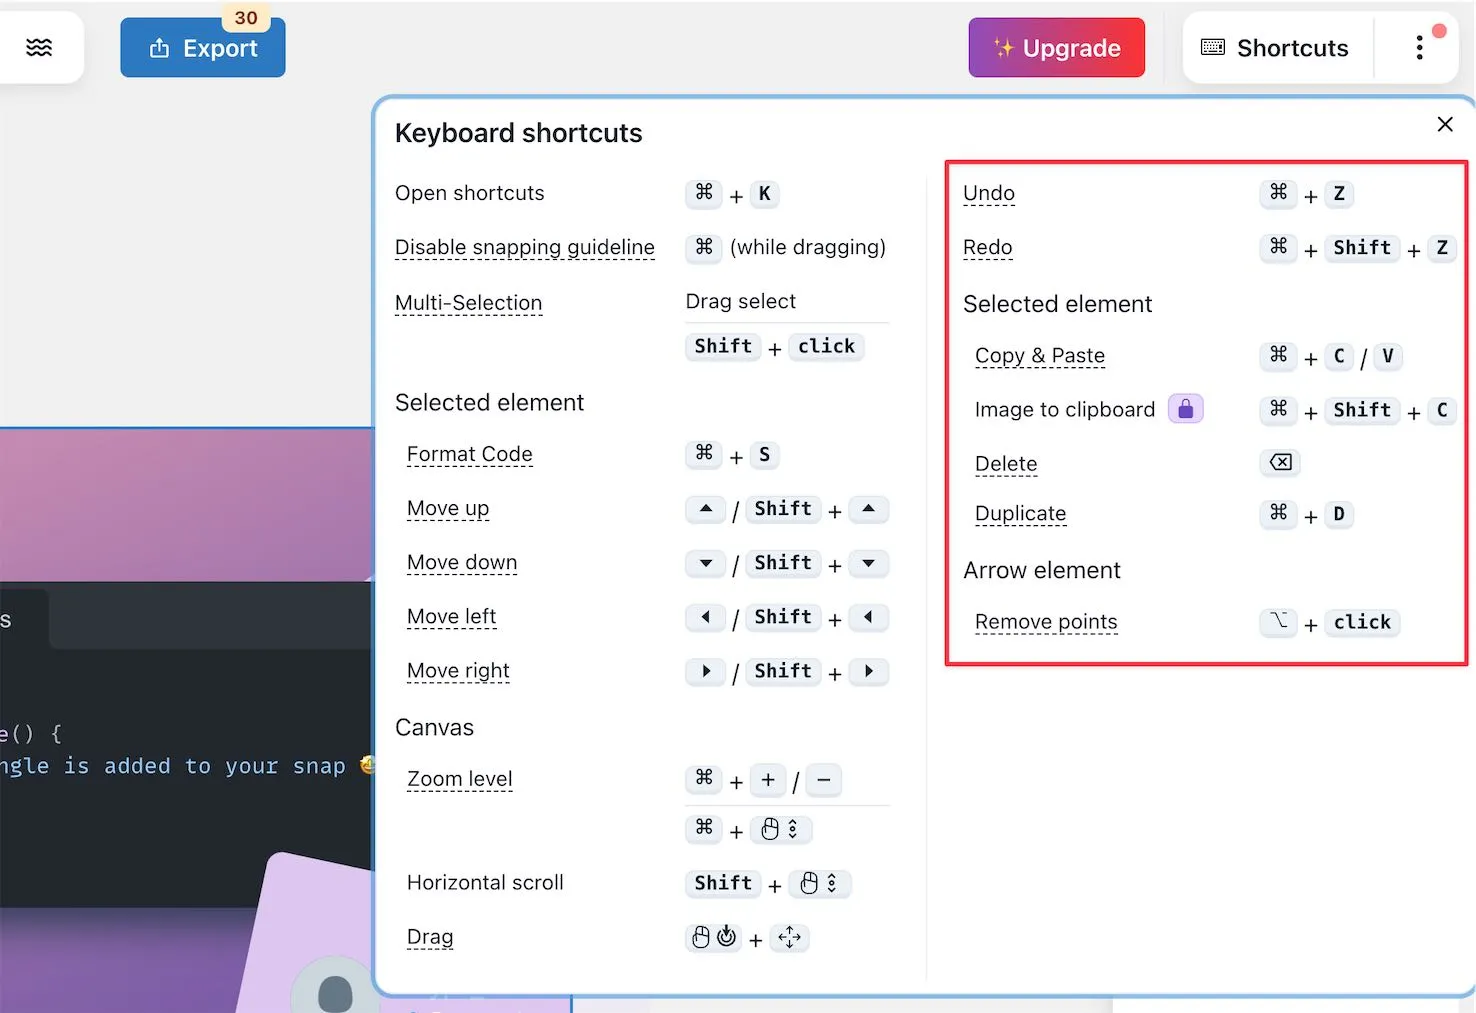
More Shortcuts

Screenshot of the new shortcuts

Additionally we also enabled more shortcuts for free users. They come in really handy when using the snappify Editor so be sure to check them out!


🔆 Opacity code highlighting

In the future, we want to unlock more features for our free plan. Today we did the first step and removed the restrictions of code highlighting 🥳.

Additionally, we are happy to introduce the opacity highlighting. Have fun!

Promotion Image showcasing the new opacity code highlighting

⌨️ Disable snapping guidelines

Snapping guidelines is a must for a graphic design tool. But Sometimes you want to position elements freely per drag. Now you can do that! Just hold   Ctrl to disable the snapping guideline.

As part of these changes, we also changed how you can multi-select elements on canvas individually. You can either select multiple elements with Shift-Click or per drag-select.

Elements list improvements

We polished the UI of the elements list (left toolbar) and also improved the UX for better distinction of the hover and selected state to the elements.

In addition to existing elements selection by pressing   Ctrl and click, we also support selecting multiple elements with Shift-Click.

The context menu got new a new option to “Rename” which is the same as double-click on the element. Also, lock/hide options are added, which can be applied on multi-selection.

Promotion Image showcasing the new context menu

✍️ Rename elements

Screenshot showing how to rename elements

Give the element a custom name to keep a better overview. Simply double-click on the label of the element to enter the edit mode. The new name will be saved automatically if you click outside or by hitting ENTER.


🔍 Embedding Support

Promotion Image showcasing the new supported embedding platforms

From now on you’re able to embed your snaps on Hashnode, Medium, or Notion.

Have you ever wanted to embed beautiful code snippets or even more sophisticated code explanations in your technical blog? snappify got you covered 💪

Those embedded snaps are responsive and fully interactive, which means that your viewers can easily copy your code snippets.

Checkout the docs for more information and to see some examples.


🚀 Responsive Embeds

Video showcasing the new responsive embeds

We now support responsive embedded snaps! 🥳

They will shrink in size or be centered depending on the screen size. Now there’s nothing which stops you to embed beautiful code explanations on your own website / blog! 🙌

Checkout the docs for more information.

Screenshot of showing how to enable responsive embeds

Create your next presentation

snappify will help you to create
stunning presentations and videos.

Get started - It's free