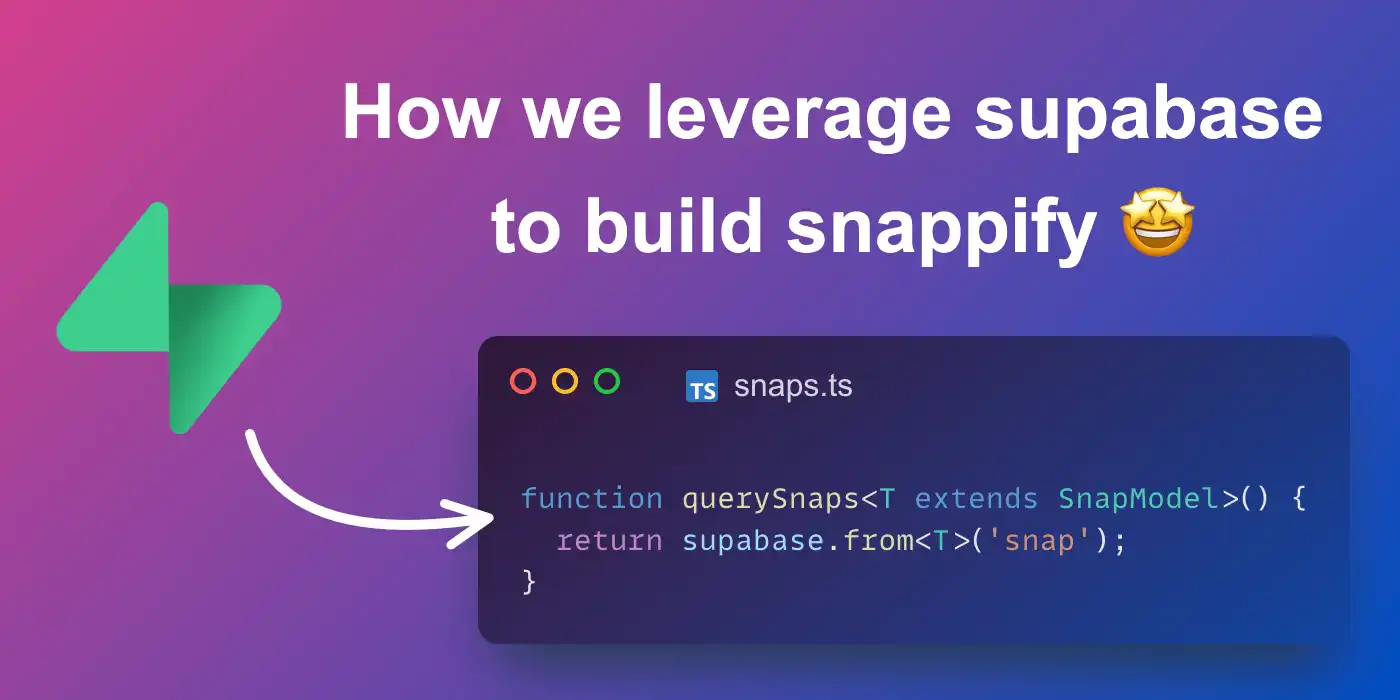
How we leverage supabase to build snappify
We started to build snappify around February 2021 and released the first MVP in late March 2021. We kept it as simple as possible and for a very long time, 99% of our logic was handled in the frontend only (we stored the snaps in the local storage).
But as we started to add more complex features to snappify we needed a backend solution. We wanted to give our users the possibility to store their snaps on our side so they can access them across devices and have them backed up.
We also introduced more sharing functionalities, like sharing snaps via a public URL or embedding them as an iframe. This is when supabase came into the game. 😄
Get things done quickly
snappify is a Next.js application hosted on Vercel. Right from the start we loved how fast we could ship our new features, without the need to handle any DevOps tasks.
And when it came to the point to introduce a backend, we wanted the same flexibility there too. We wanted to keep it as simple as possible and it should let us still move forward quickly. In the Twitter Dev- and IndieHacker-Community supabase was already known well and so we just gave it a try.
Soon it was clear: this is the right match for snappify. supabase provides you with a REST API on top of a PostgresDB, which means that we don’t even have to write dedicated backend code.
Everytime a user changes something in his snap or creates a new folder, we just call the API directly from our frontend. Thanks to row-level security, we are also able to restrict users to only retrieve and store data they have permissions for.
Authentication with the snap of a finger
The second feature we’re leveraging is supabase Authentication. In order to restrict users to only access data they’re allowed to, it makes sense to let supabase handle the authentication part of your app.
Additionally it’s super easy to implement - just use the correct calls via the supabase-js library and let it take care of the rest.
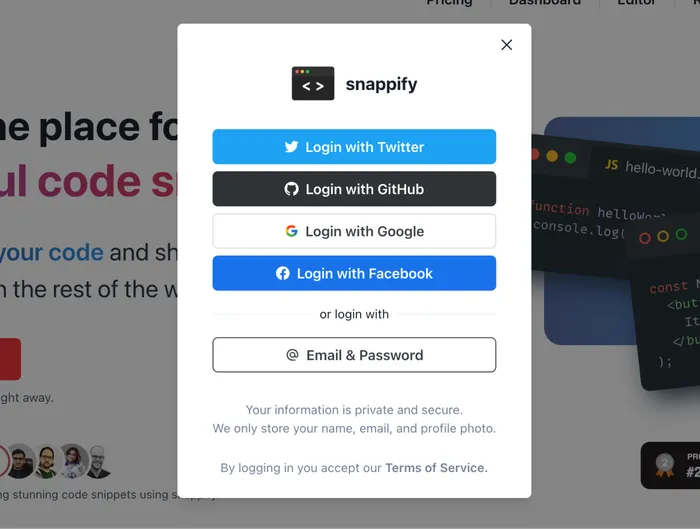
Login / Signup via Social Media accounts
Here is an example code of how to integrate a social media login.
It’s straght-forward and supabase supports a whole bunch of login providers like Google, Facebook, GitHub, Azure, Gitlab, Twitter, Discord, and many more.
Login / Signup via Email and Password
Some users prefer to login via their private email and password, which is also easy to enable with supabase.
We have 2022, you have better things to do than implementing authentication on your own! 😄
Supabase Storage: the cozy place of our images
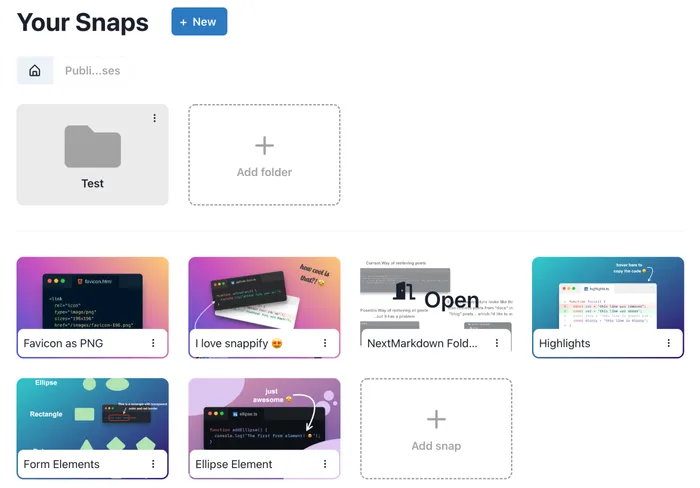
In snappify you’re also able to upload custom images for more sophisticated code annotations. In the beginning, we stored those images in a local PouchDB, but as we switched to supabase, a much better alternative approached. 😄
supabase Storage is a service on top of AWS S3, which lets you store all type of files related to your supabase Project. Like with the authentication, it is a no-brainer to implement an image-upload. The images can either be available public, or only be retrieved with specific permissions.
Also the preview images of our snaps are being stored there:
Conclusion
We’re working on snappify for more than a year and already have a good amount of happy customers which are using our product on a daily basis. Despite that we’re still operating on the free plan of supabase at the moment.
For us that’s awesome, because it means that supabase enables us to validate our product ideas, get things done quickly, save valuable time, and all that for free.
It takes care of many key aspects like authentication, file storage and database. It even has support for serverless functions for more sophisticated backend logic. I can definitely recommend to head over to supabase.com and give it a try!
If you have any questions regarding our implementation or how we integrate supabase, don’t hesitate to reach out to me via Twitter. Cheers!