How to Create Engaging Coding Tutorial Videos in 2026 (Step-by-Step Guide)
Let’s be honest. Most coding tutorial videos are painful to watch.
The screen resolution is blurry. The code is tiny. The audio sounds like it was recorded inside a tin can. And the explanation somehow makes a simple concept feel more confusing than before.
Yet the developers doing this right are building massive audiences, landing consulting clients, getting hired, and even generating full-time income.
The difference between forgettable content and a tutorial people actually bookmark and share comes down to a handful of decisions:
- How you structure your content
- How you present your code
- Which tools you use to bring it all together.
This guide covers every step, built around what actually works.
Whether you are starting a faceless coding YouTube channel, creating educational content for a course, or sharing technical tutorials for your developer audience, this is the framework you need.
Why Coding Tutorial Videos Are More Valuable Than Ever in 2026
Before getting into the how, it is worth understanding why now is the best time to create coding tutorial videos.
Search engines and AI answer engines like Perplexity, ChatGPT Search, and Google’s AI Overviews are actively surfacing video content alongside text results.
Developers seeking solutions are increasingly turning to video tutorials.
YouTube remains the second-largest search engine on the planet, and developer tutorials consistently rank for long-tail programming queries for years after publication.
On the demand side, programming education is one of the highest-CPM niches on YouTube, with AI and technology tutorials earning somewhere between $8 and $20 CPM according to recent creator data.
That means quality tutorial content pays well, whether you monetize through ads, sponsorships, or by driving traffic to your own product or course.
The barrier to creating polished, professional coding tutorial videos has also dropped significantly.
You no longer need a film crew, an expensive camera, or even to show your face.
What you need is a clear process, the right tools, and content that genuinely helps your viewers solve real problems.
Step 1: Choose a Topic That Solves a Real Problem

The most common mistake beginner tutorial creators make is choosing topics they find interesting rather than topics their audience is actively searching for.
Effective coding tutorial videos answer specific, searchable questions.
“How to center a div in CSS” has generated millions of views because that specific problem frustrates millions of developers every week.
“My thoughts on object-oriented programming” generates far fewer searches.
How to find winning tutorial topics:
Start with the search bar on YouTube. Type a partial phrase related to your niche and pay attention to the autocomplete suggestions.
These are real queries from real people. Tools like TubeBuddy and VidIQ let you see search volume estimates directly in YouTube, removing the guesswork entirely.
Think about what questions appear in developer forums like Stack Overflow, Reddit’s r/learnprogramming, or your own Discord communities. These are goldmines of underserved tutorial topics.
For your first few videos, target specific, narrow problems rather than broad overviews.
“How to use useEffect with async functions in React” will outperform “Introduction to React Hooks” almost every time because the intent is clearer and the competition is lower.
Validating your topic before you create:
Before you spend hours on a tutorial, check whether the topic has existing videos with decent view counts.
If similar videos have 50,000 to 500,000 views, the audience exists.
If the top result is three years old and outdated, that is your opportunity to create a better, more current version.
Step 2: Structure Your Tutorial Before You Record Anything
Structure is what separates a tutorial that viewers abandon after 2 minutes from one they rewatch and share.
The most effective coding tutorial videos follow a simple pattern: hook, context, step-by-step execution, result, and call to action. Each section has a distinct purpose, and understanding that purpose helps you fill it correctly.
The hook (first 30 seconds):
Your viewer decided whether to keep watching within the first 30 seconds.
Open with the problem you are solving, not with an introduction to yourself.
“By the end of this video, you will be able to build a fully functional authentication system in under 20 minutes” is a hook.
“Hey guys, welcome back to my channel” is not.
Context (1 to 2 minutes):
Briefly explain what the viewer needs to know before diving in. What prerequisites do they need? What problem does this solution address?
This section should be short but should make the viewer feel confident they are in the right place.
Step-by-step execution:
This is the body of your tutorial. Break it into clear, numbered steps.
Developers who will rewatch your video to reference a specific step will thank you for this.
Each step should include the what and the why, because explaining only what to type without explaining why you are typing it produces developers who can follow instructions but cannot problem-solve independently.
The result:
Show the finished output working. Confirm for the viewer that the steps worked. This creates a satisfying moment of closure, making the video feel complete.
Call to action:
Ask for one thing. Not three. Typically, this is a subscription request, a suggestion to watch a related video, or a prompt to try the code themselves.
Step 3: Write a Script (Yes, Even a Rough One)
.DY_T-wsd_ZdppYS.webp)
You do not need to script every word you say, but you do need a roadmap.
Unscripted tutorials tend to ramble.
The creator repeats themselves, loses their train of thought mid-explanation, or skips important context that would have made the step clear. Viewers notice this even when they cannot articulate what is wrong.
The pacing feels off.
A solid scripting approach for coding tutorials works like this:
Write bullet points for each major step you will cover, write out the exact code you will use in each step before you record, and note where you will use annotations, highlights, or callouts to focus viewer attention on specific lines.
You do not need to memorize the script or read it verbatim. The goal is to arrive at your recording session already knowing what you will say. That clarity shows up in your delivery.
Step 4: Prepare Your Code Examples in Advance
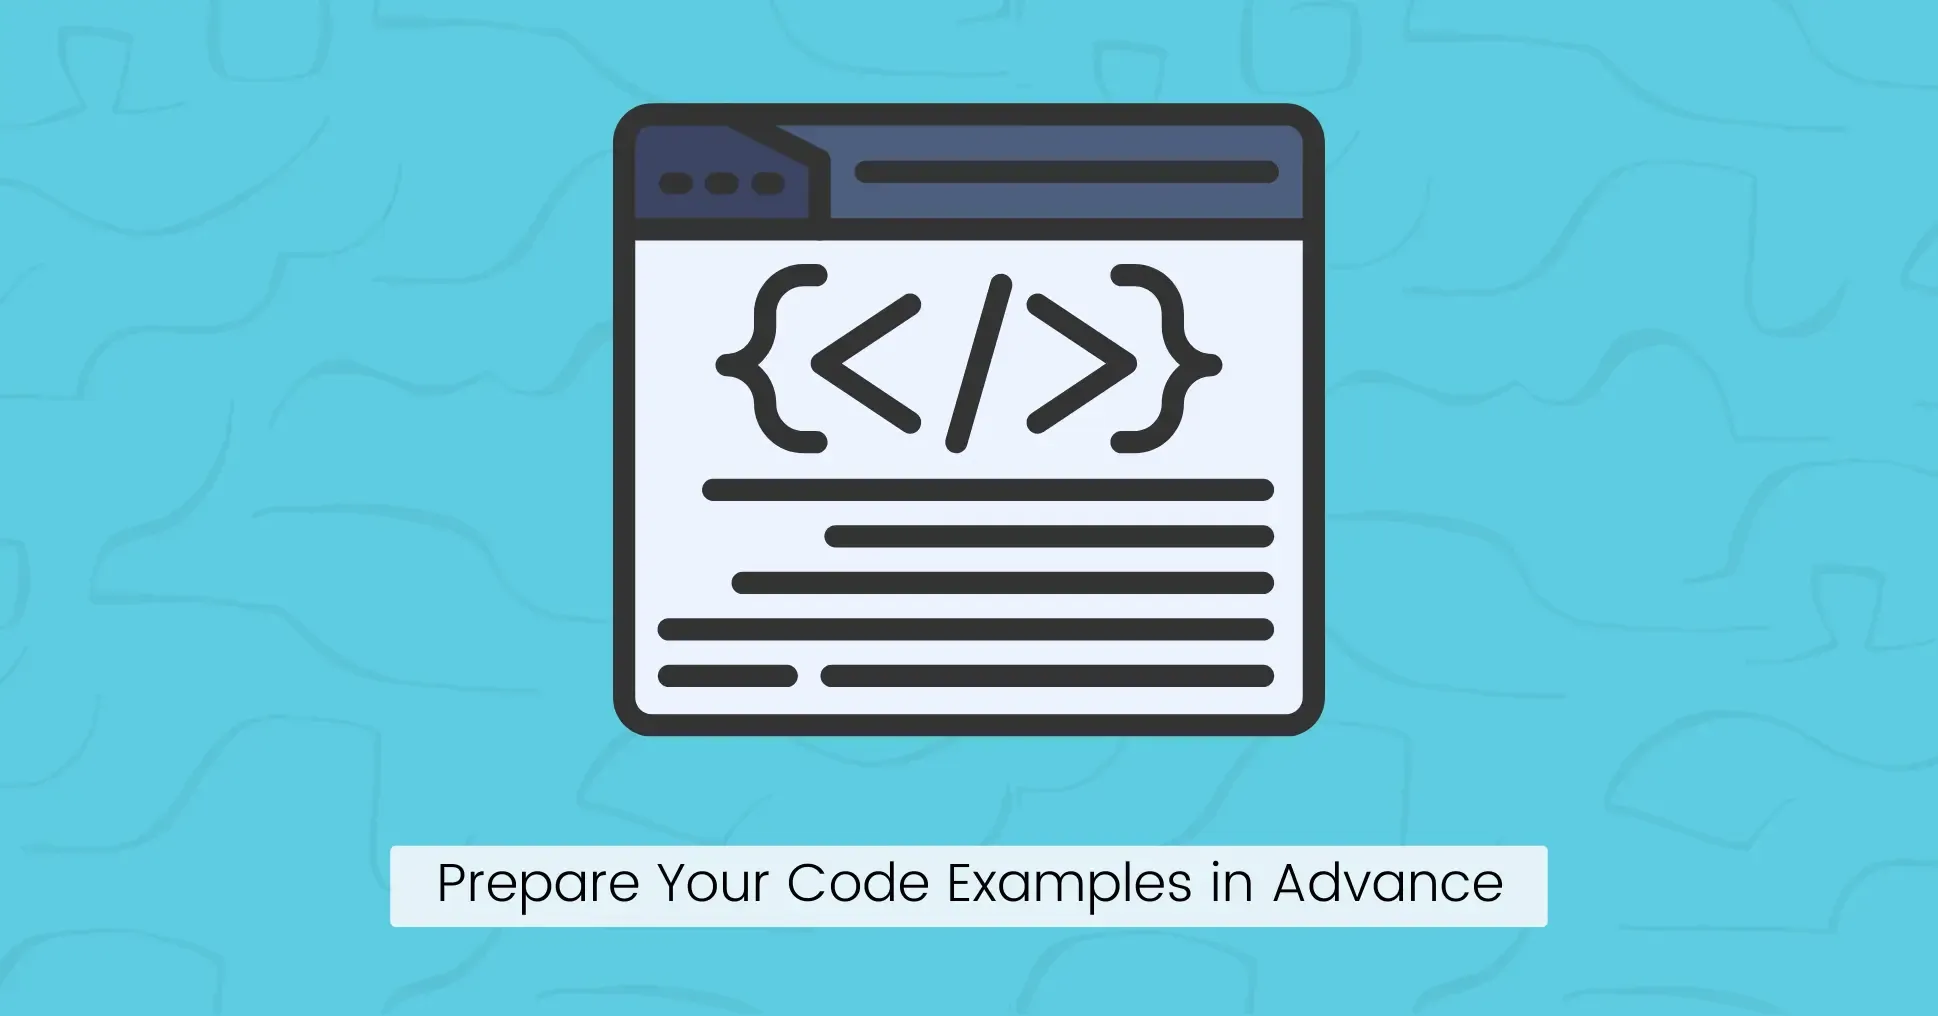
This step is often skipped and almost always regretted.
Live coding during a tutorial video has a romantic appeal. It feels authentic. The problem is that typos, syntax errors, and unexpected behavior eat your recording time and frustrate viewers who are trying to follow along.
Prepare your code examples before hitting record. Know exactly what you are going to type, in what order, and why. If you want the feel of live coding, you can still type it out during recording.
But having the finished code open in another window for reference ensures you never go off-script or spend 4 minutes debugging a missing semicolon on camera.
Sketch out the structure and flow of your code examples in advance. Think through the logical progression: what does the viewer need to see first for the next step to make sense?
When your code is organized, your explanation naturally becomes cleaner and more confident.
Step 5: Make Your Code Visually Stunning (This Is Where Most Tutorials Fall Short)
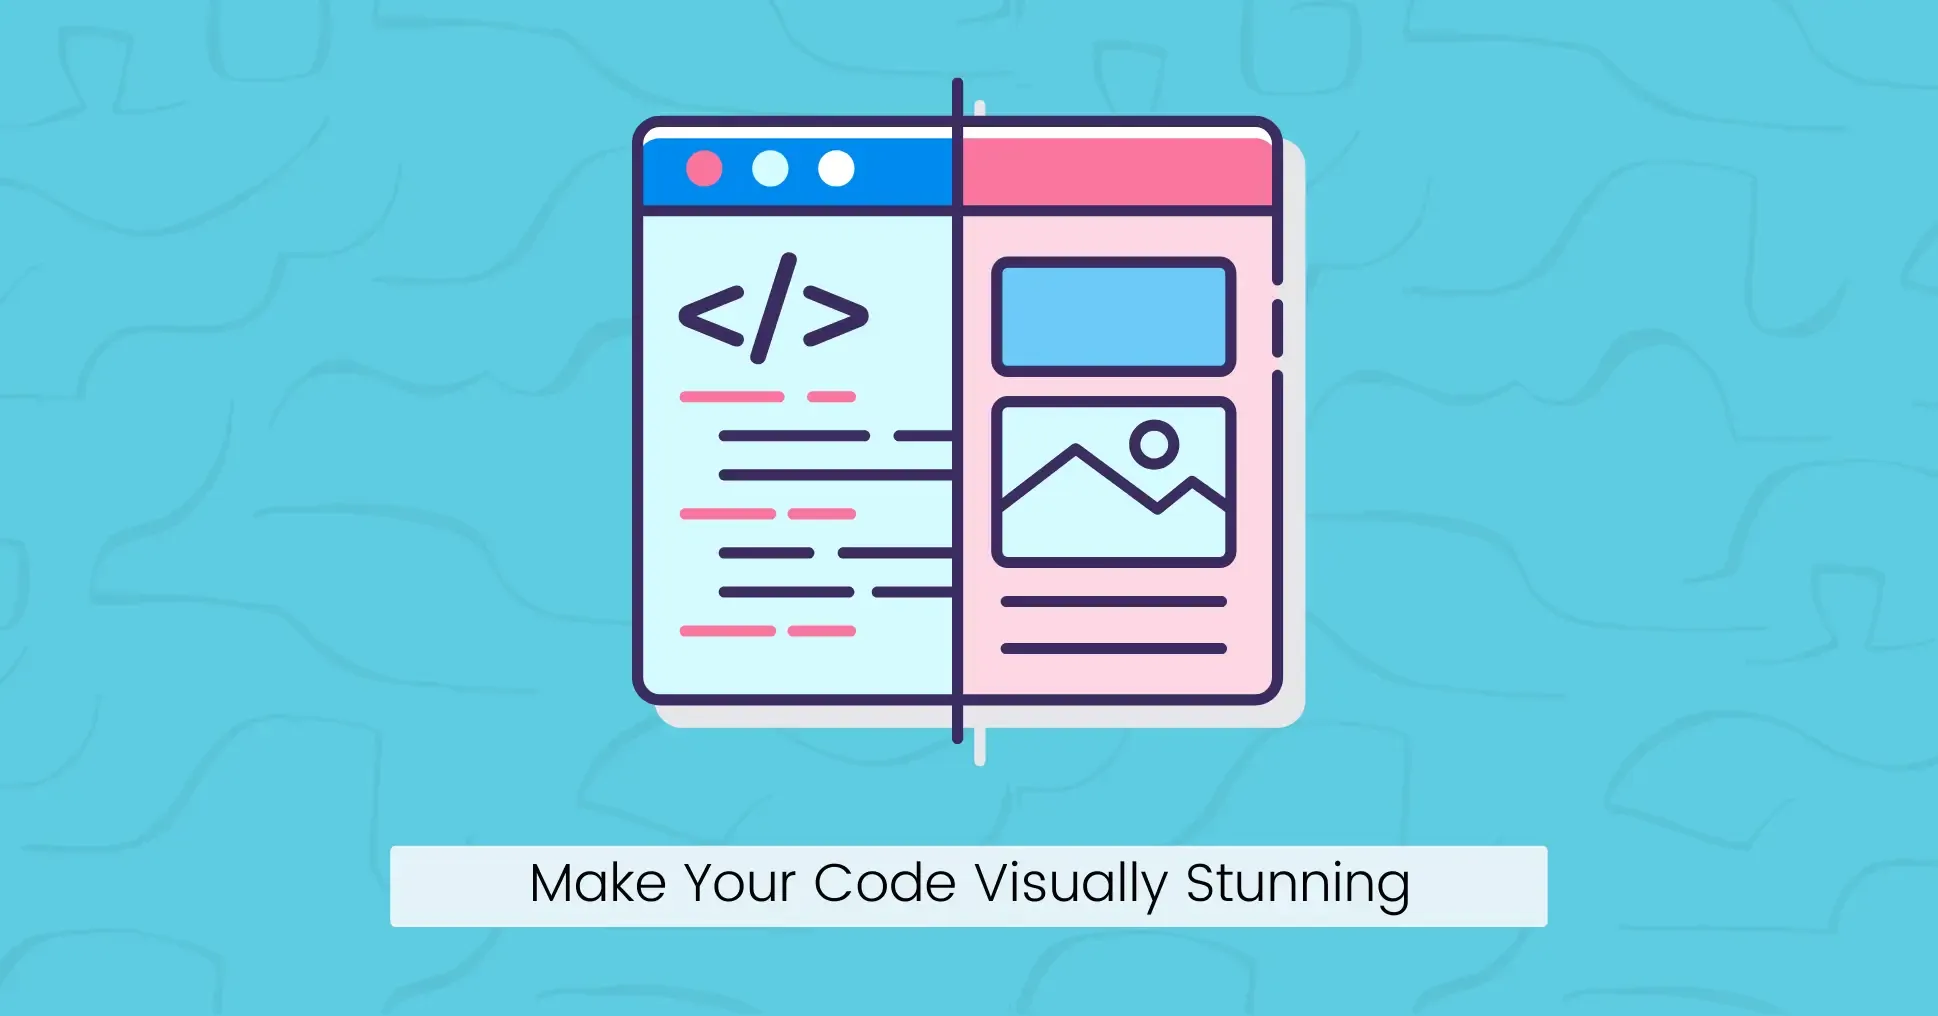
Here is the truth: a dark terminal with tiny white text is not engaging. It might be readable on your 27-inch monitor. On a 1080p YouTube video watched on a phone, it is a blurry mess.
Visually polished code presentation is one of the highest-leverage things you can do to stand out as a tutorial creator.
And this is exactly where a tool like snappify becomes a significant competitive advantage.
What is snappify?
Snappify is a design tool built specifically for developers who want to create stunning code presentations and animated coding videos.
It is trusted by over 40,000 developers and used by educators, course creators, technical content creators, and development teams.
Unlike a raw screen recording of your IDE, snappify lets you present code in a genuinely beautiful way.
You can add multiple code windows to compare approaches side by side, annotate specific lines with text callouts and arrows, highlight or blur sections to guide viewer attention, add your branding with a custom avatar and username, and export the whole thing as a smooth animated video.
The animated code tutorial advantage:
Snappify’s animation system lets you build slide-based code presentations where code elements appear, transform, and transition with buttery smooth motion.
When you explain how a function changes, you can visually morph from one code state to another rather than cut between two static screens.
This dramatically improves comprehension. Viewers can see the change happen rather than trying to spot the difference themselves.
The video export feature (available through snappify’s Desktop App for Mac, Windows, and Linux) lets you export your animated code presentations at up to 60fps in high resolution.
The Professional and Team plans support 60fps exports without watermarks, giving your tutorials a production-quality that raw screen recordings cannot match.
Practical ways to use snappify in your coding tutorials:
You can use it to create the visual code segments for your tutorial, which you can then stitch together in your main video editor.
You can also use it to create standalone explainer clips that work as social media teasers for your full tutorial.
For course creators, the interactive embedding feature lets you embed your animated code snippets directly in a blog post or documentation page on Notion, Hashnode, or Medium so that viewers can copy the code with a single click.
Step 6: Sort Out Your Audio Before Anything Else
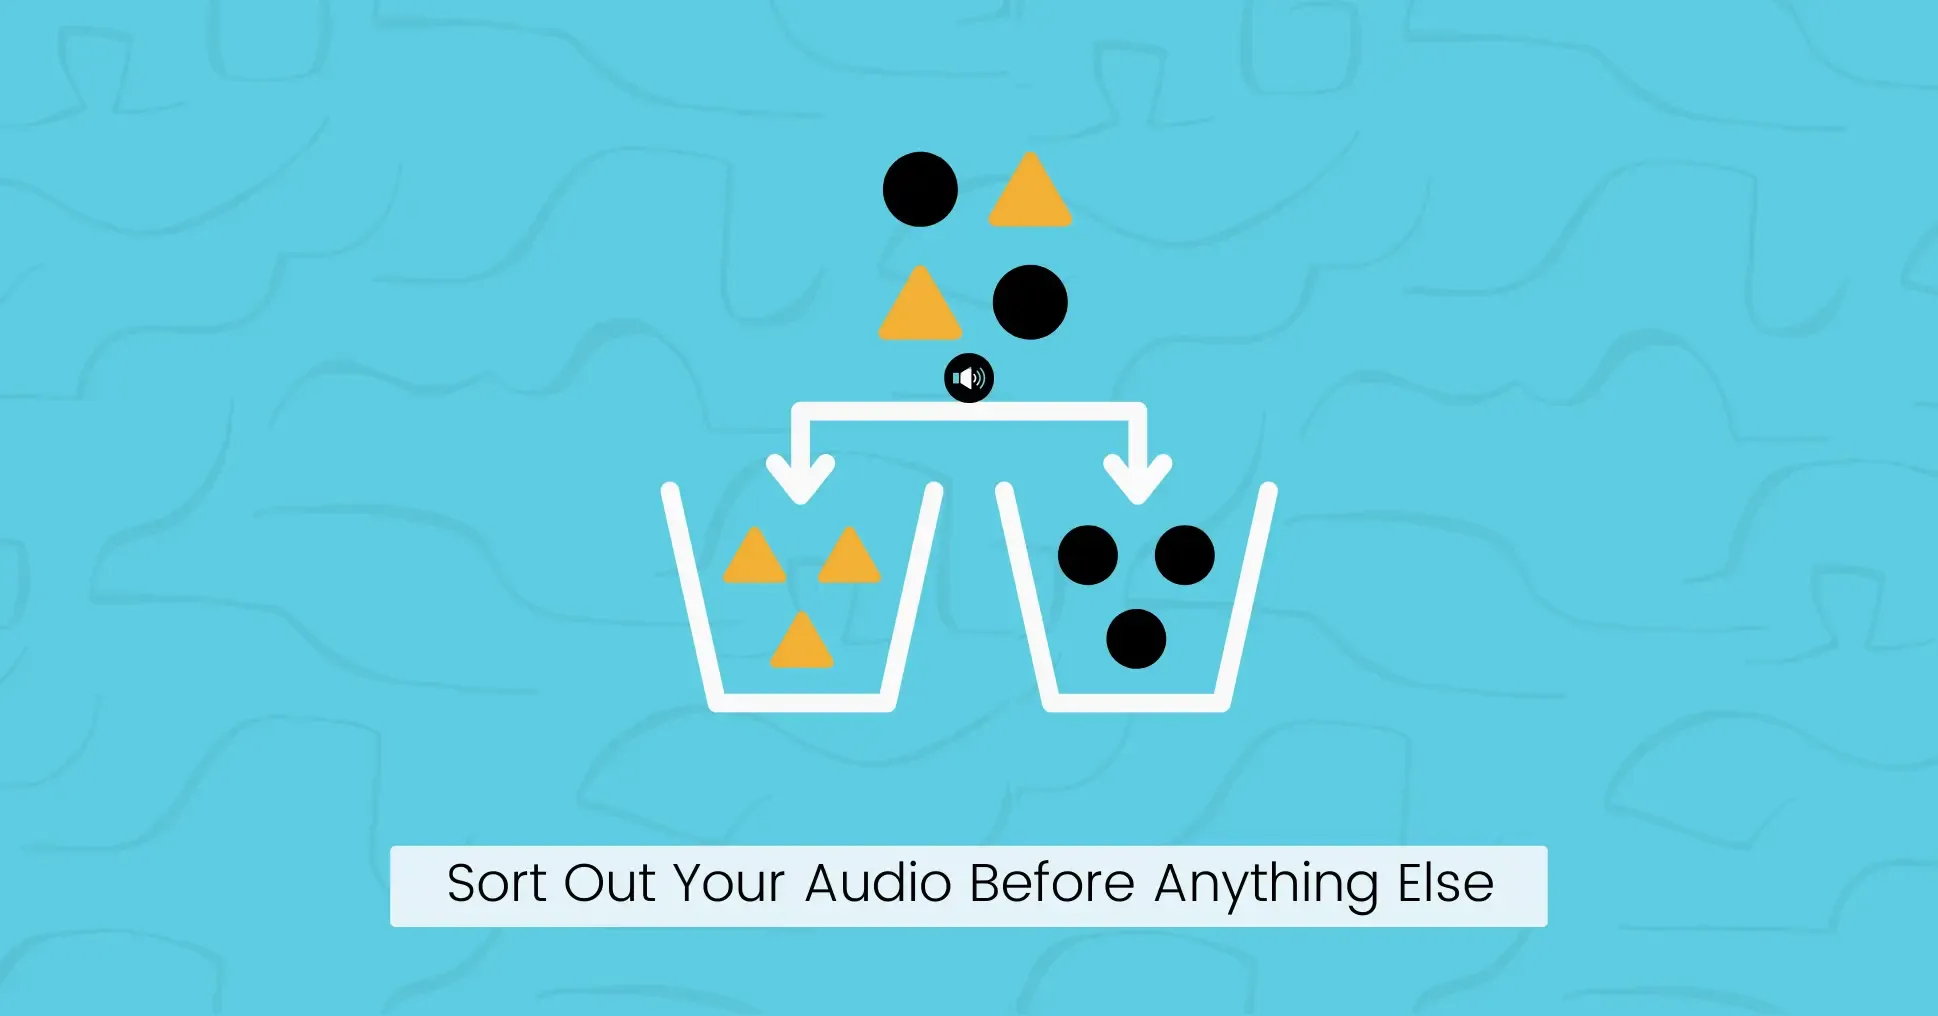
Of all the technical aspects of creating a coding tutorial video, audio quality has the highest impact on viewer retention.
Viewers will forgive a slightly rough visual setup. They will not forgive audio that crackles, hisses, echoes, or forces them to strain to understand what you are saying.
You do not need a professional recording studio. What you need is a USB microphone (the Blue Yeti, Rode NT-USB, or even a decent gaming headset mic will work), a quiet room, and soft furnishings around you.
Rooms with carpets, curtains, or a bookshelf full of books absorb echo much better than bare walls and tile floors.
For your voiceover delivery:
Speak slowly and clearly. Most developers instinctively talk faster when they are explaining something technical because the knowledge feels so natural to them.
What feels like a normal pace to you sounds rushed to a viewer encountering the concept for the first time.
Vary your tone. A flat, monotone delivery is exhausting to listen to for 10 minutes. Bring slight emphasis to key points. It does not need to be theatrical. It just needs to be present.
If you find the idea of recording your voice deeply uncomfortable, know that you are not alone.
Many successful technical tutorial creators were anxious about their voice for their first 20 videos. What gets you over it is shipping those 20 videos and realizing the feedback focuses entirely on the content, not your voice.
AI voiceover as an alternative:
If you genuinely prefer not to use your own voice, AI voice tools have reached a level of quality that is genuinely usable for tutorial content.
The key is selecting a voice that sounds natural and unhurried, writing a script that reads conversationally when read aloud, and avoiding the robotic cadence that comes from AI reading bullet-point-style sentences. Write for the ear, not for the eye.
Step 7: Recording and Screen Setup for Maximum Clarity
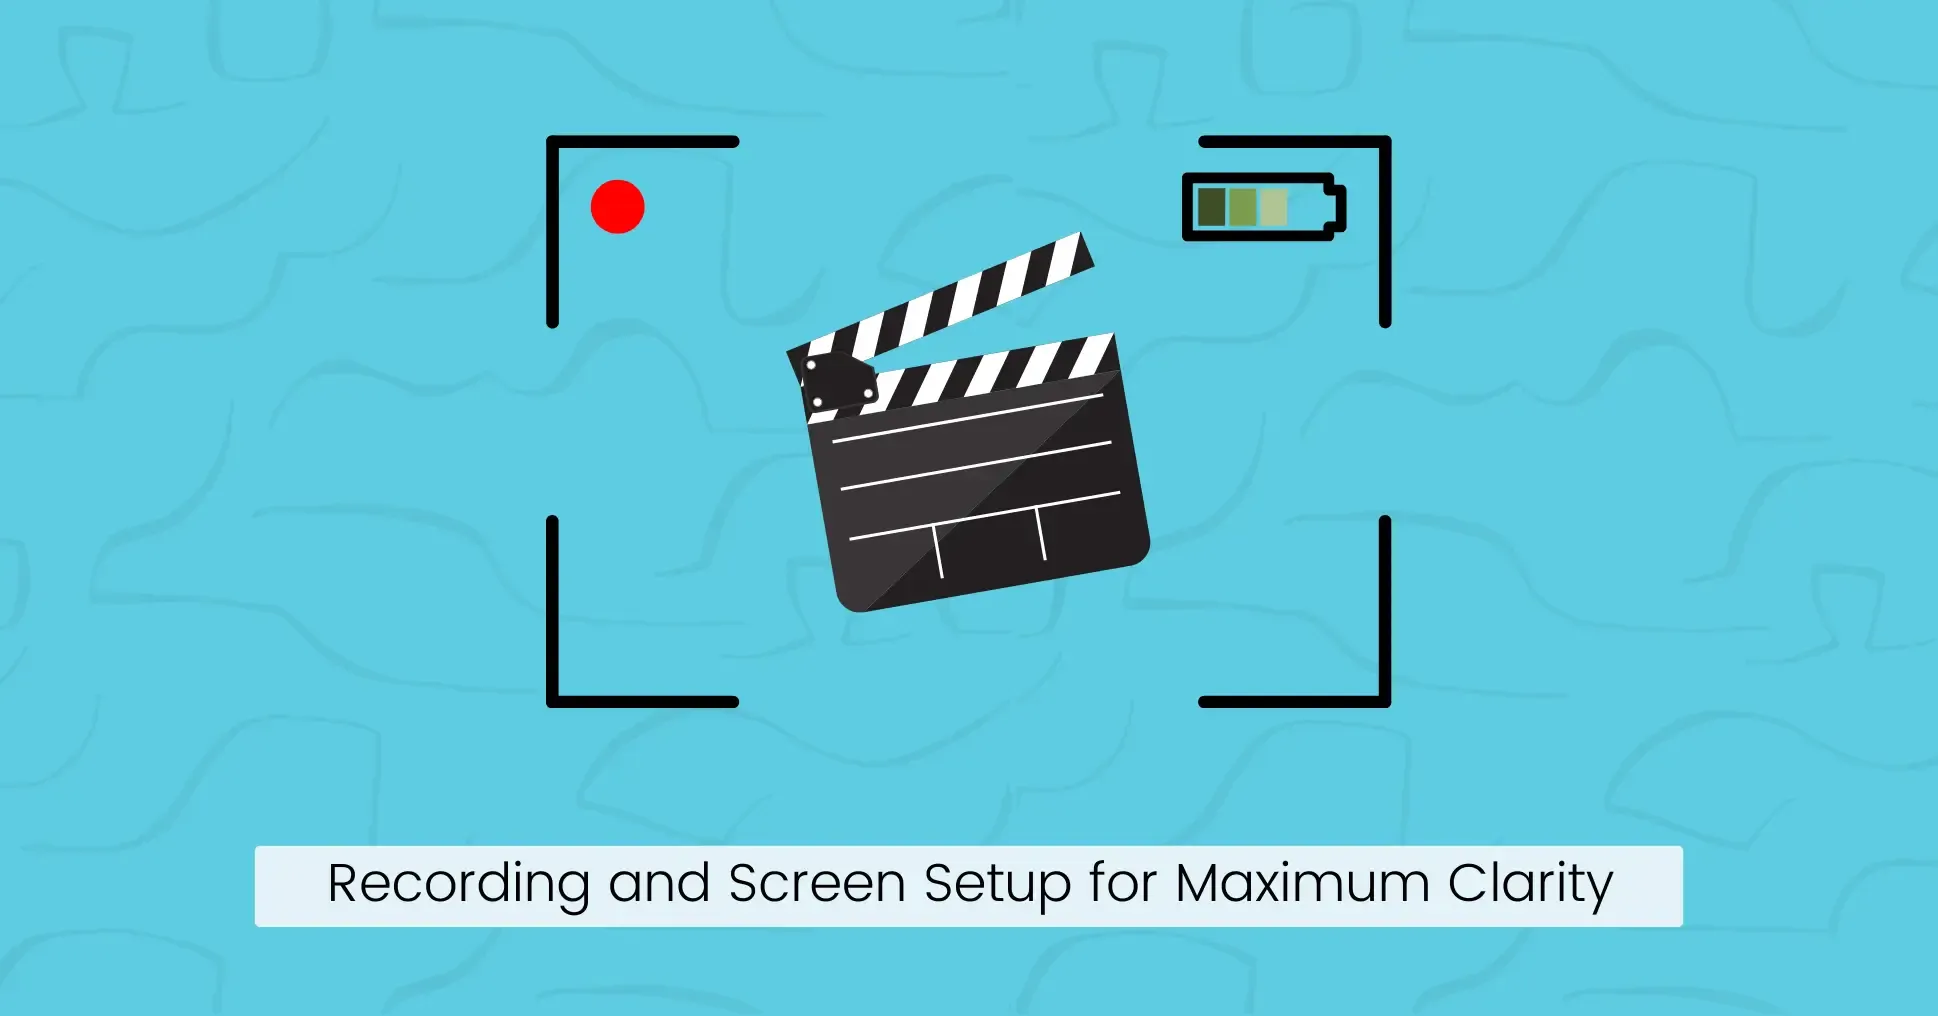
Before you start recording your screen, spend five minutes setting up your environment for clarity.
Use a large, readable font in your editor. A font size of 18 to 20 pixels is not too large for tutorial recording. It is just right.
Choose a syntax theme with strong contrast, whether that is a dark background with bright syntax colors or a clean light theme with well-differentiated colors.
Hide everything that does not need to be on screen. Close your browser tabs. Hide your dock or taskbar. Disable notifications. Every visual distraction you remove is one less thing pulling the viewer’s attention away from your code.
If you are recording a screen alongside your snappify visuals, use region capture rather than capturing your entire desktop.
This frames the content tightly and eliminates distracting background elements.
OBS Studio is free, powerful, and widely used for recording software.
There are other modern screen recorder tools like:
- Borumi (Easy to use and has more features than ScreenStudio)
- ScreenStudio
Final Thoughts
After 12+ years of watching the technical content, i noticed the difference between good and great tutorials consistently comes down to one thing:
The creator who made the great tutorial actually thought about the viewer, not just the content.
They asked: Where does this person get confused? What do they already know? What assumption am I making that they might not share? What would make this explanation click rather than inform?
Animated, visually clean code presentations via snappify help with this because the visual layer reinforces what the voiceover says.
When your viewer can see the code transform while you explain the change, both pathways to understanding activate at once: the auditory and the visual. That is why animated coding tutorials consistently outperform static screen recordings for educational content.
FAQs:
Do I need to show my face in coding tutorial videos?
No. A faceless coding YouTube channel is entirely possible. Viewers of technical content care about the clarity of explanations, code readability, and audio quality. A polished voiceover combined with well-designed animated code visuals, like those created with snappify, often performs as well as or better than face-camera tutorials in terms of retention.
How long should a coding tutorial video be?
Aim for 5 to 10 minutes for focused, single-concept tutorials. For more complex, multi-step builds, 15 to 20 minutes is acceptable, provided every minute serves the viewer.
What is the best way to animate code for tutorial videos?
Snappify is currently one of the most capable tools for this. It lets you create slide-based code presentations with smooth, configurable animations.